

How to Tape Walls for Painting
June 26, 2020
The quality of a finished painting project is determined by the many smaller factors of painting, such as: preparing the surface, taping around the walls, applying the paint, and several additional elements. Taping around the walls may seem to be one of the least significant factors, but it plays a big role in how the the finished product turns out. A sloppy tape job can result in unsightly drips and rough edges, whereas a meticulous and methodical tape job produces crisp lines and a smooth border.
Here we want to provide you with some tips and pointers on taping walls so that you can have a beautiful finished product.
- Have plenty painters tape (we recommend 3M's blue core) and make sure to buy some rolls that are of varied widths.
- Don't apply tape to a surface that has not completely cured. If you plan on taping a surface that has just been painted, wait 1 to 2 days for the paint to cure before applying tape.
- It is better to tape in small strips of tape (about 2 to 4 feet) rather than a long continuous strip, because you can handle the tape more easily and produce fewer crinkles and bends. When laying the tape, hold it taught, but not overly stretched.
- Overlap the paint strips by 2 to 3 inches so that the paint doesn't leak through.
- As you tape, use one finger to lightly secure the tape into place. When you finish applying all the tape, rub your finger firmly along the edge where the paint will meet it.
- When taping the corners, cut the end of the tape at a 45° angle and butt it up to the corner. On the other side of the corner, cut the tape at the opposite 45° angle, but overlap the tape by about 1 to 2 inches.
- Wait at least 30 minutes, but no longer than 6 hours to remove the tape, so that the paint doesn't smear, bleed, or tear.
- When you are painting multiple coats, the safest method is to remove the first tape and then reapply when the first coat is dry. It is sometimes possible to paint two or more coats with the same tape, but you have to time it well so that you paint the 2 nd coat when the 1 st coat is dry enough to paint on, but not fully cured.
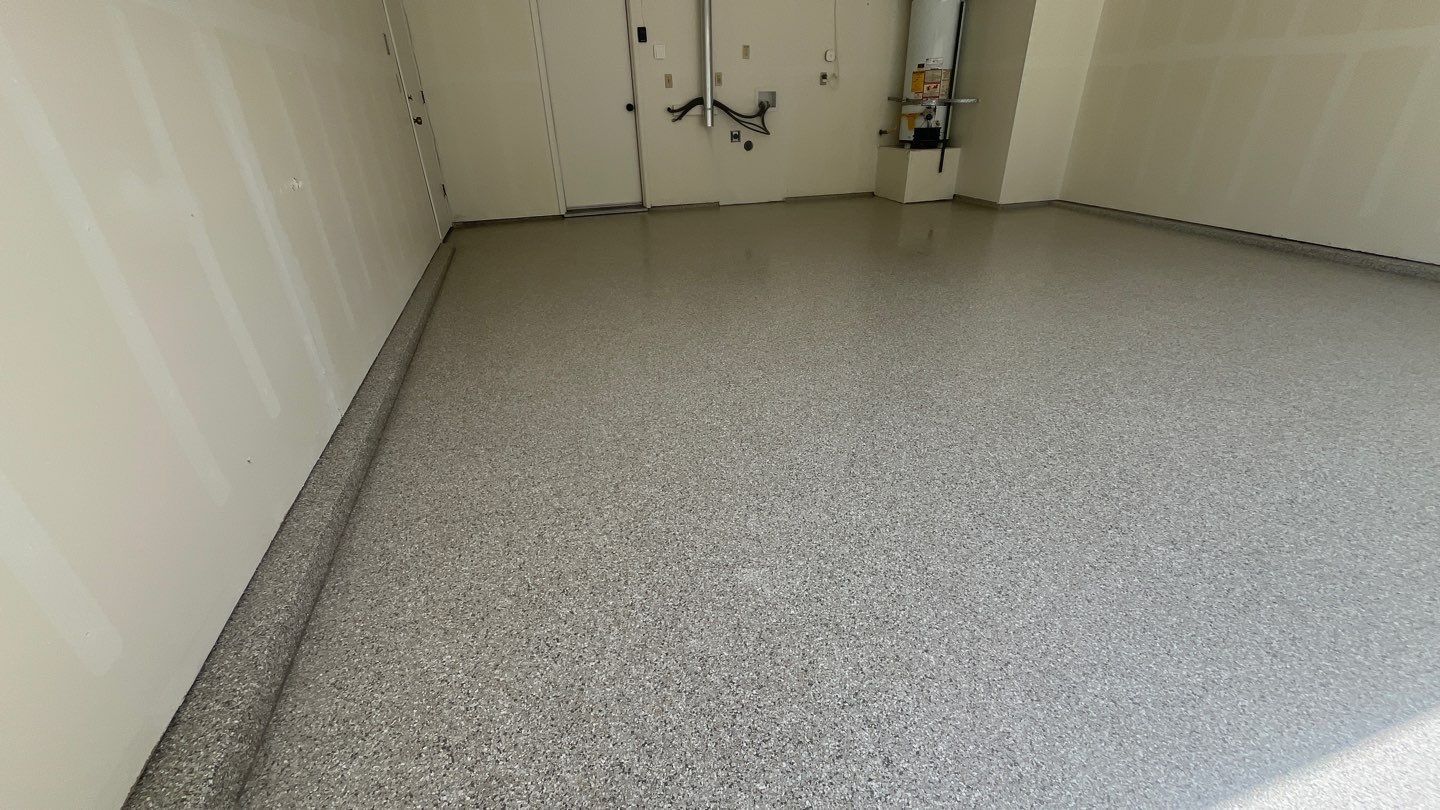
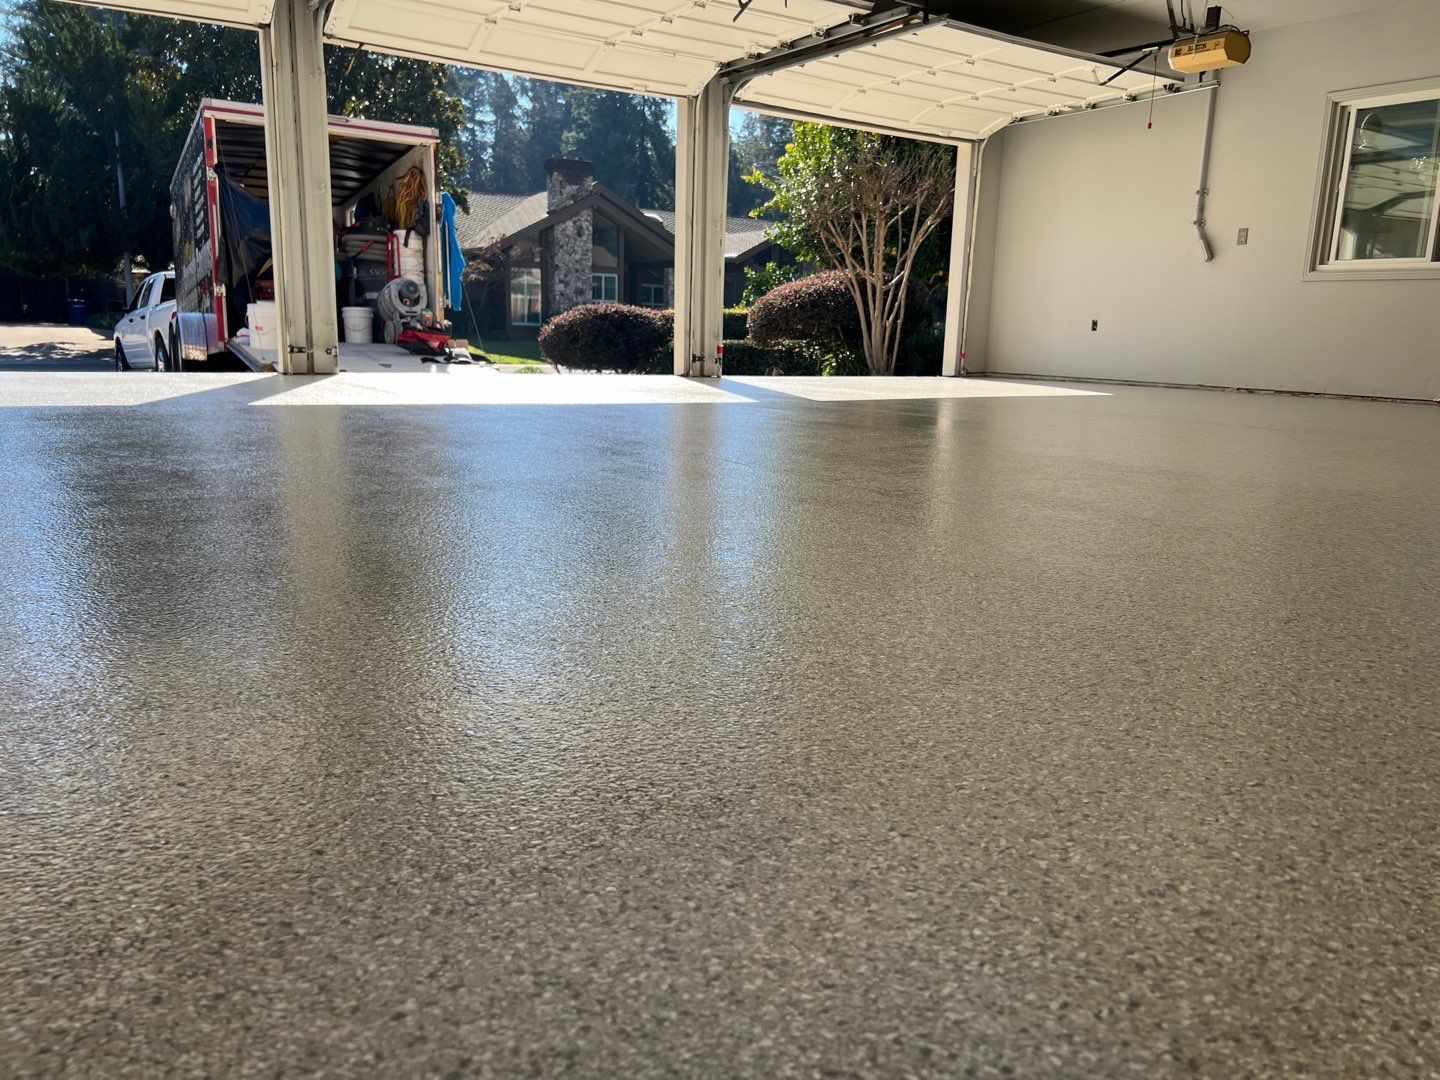
Concrete Coating for garage in Modesto California
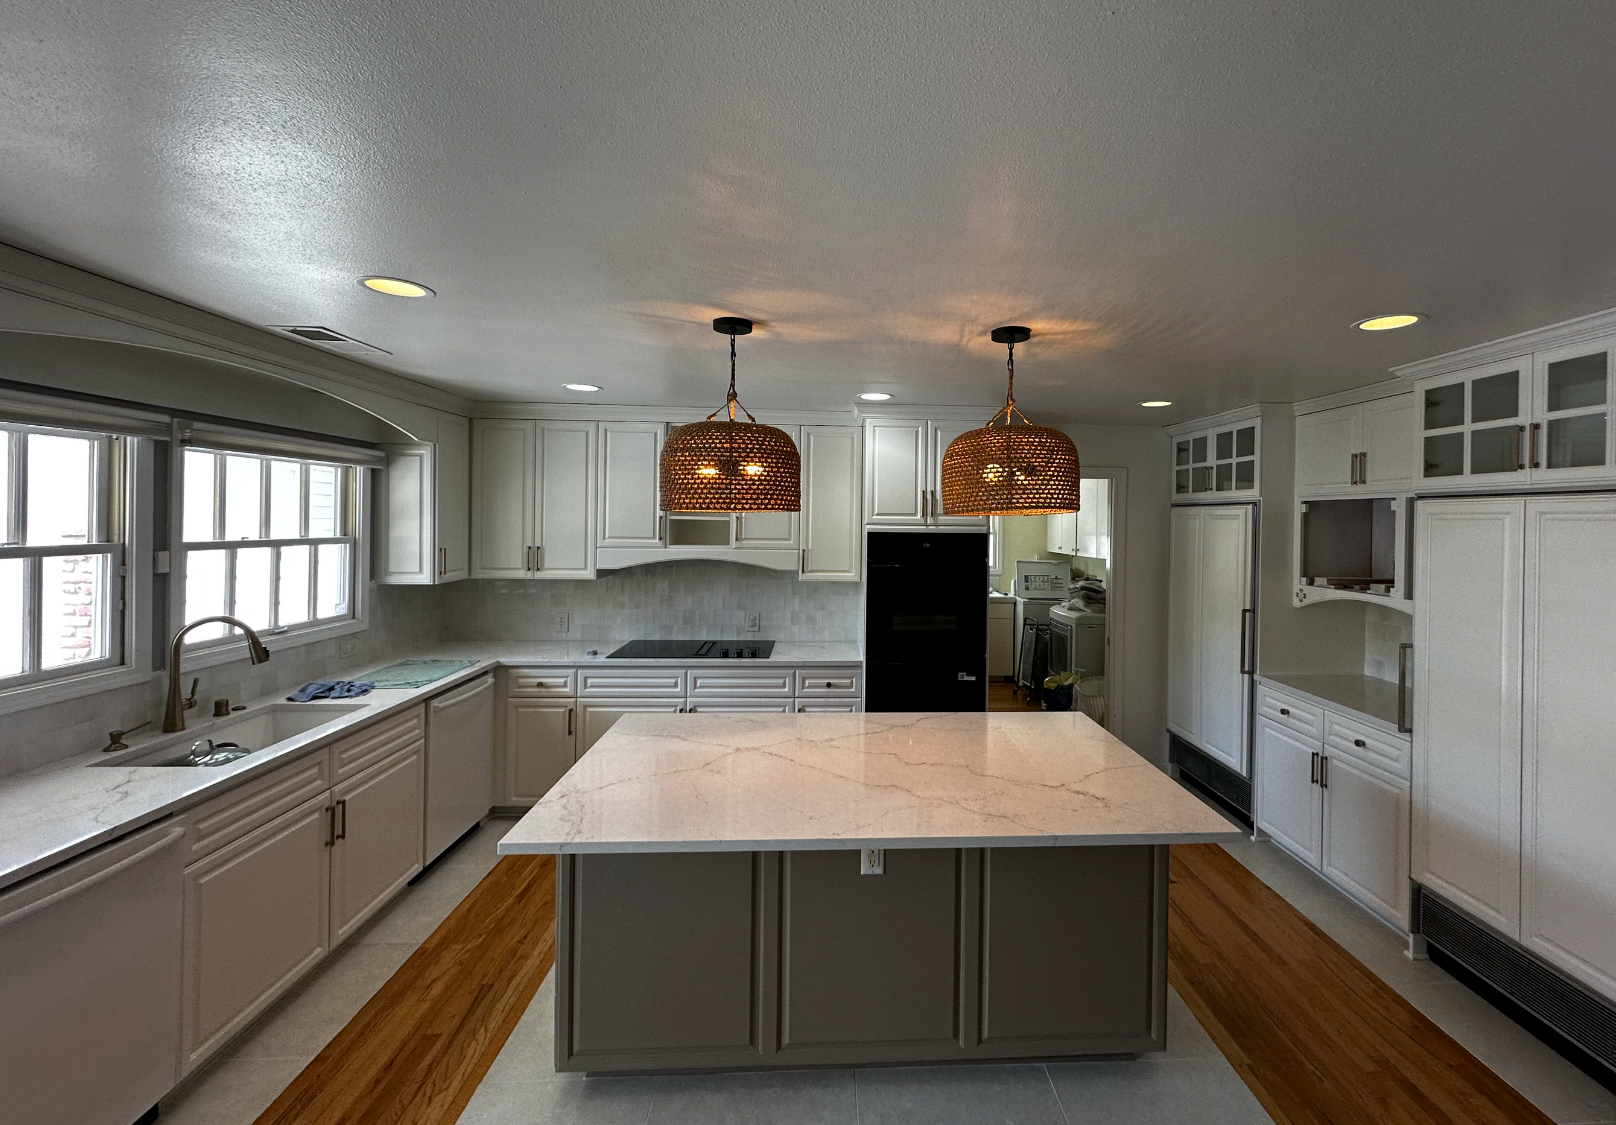
Cabinet painting central valley
Concrete might be tough, but without proper protection, it can wear down from exposure to weather, chemicals, and traffic. That’s where high-performance concrete coatings come in. At LP Concrete Coatings, we specialize in applications that not only extend the life of your concrete surfaces but also enhance their look.
Enhance and protect your Tracy home with durable and stylish concrete coatings.
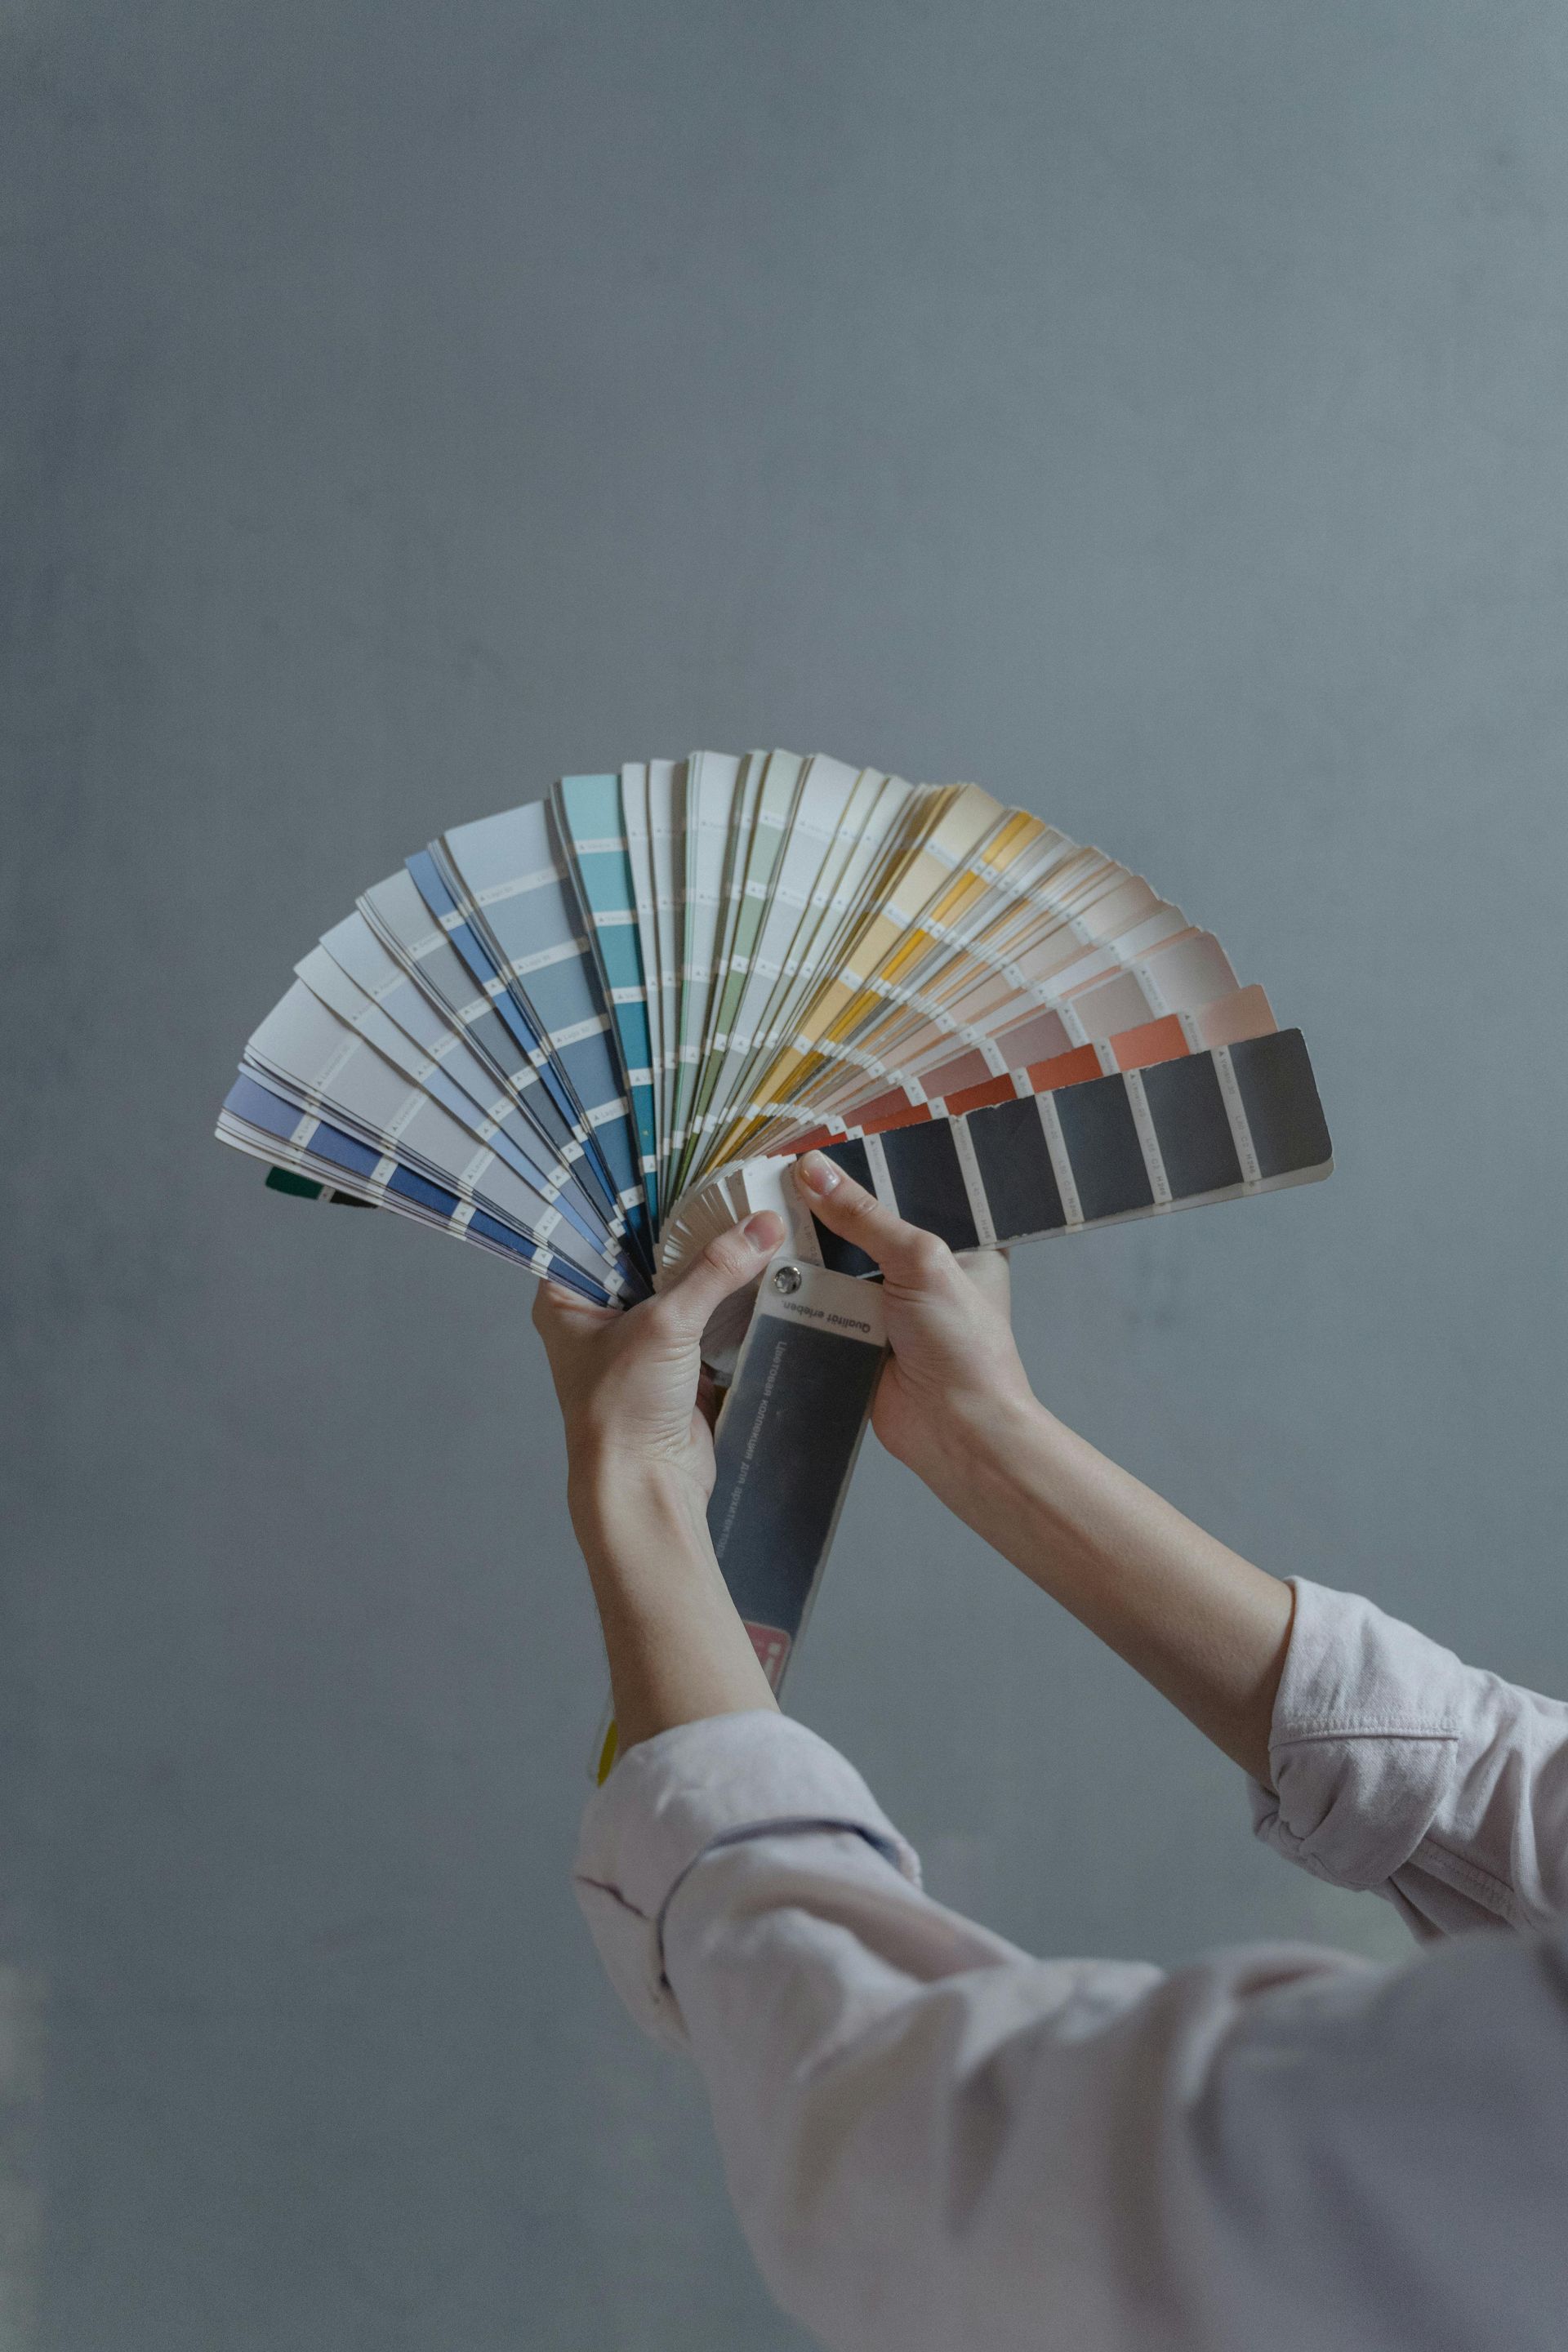
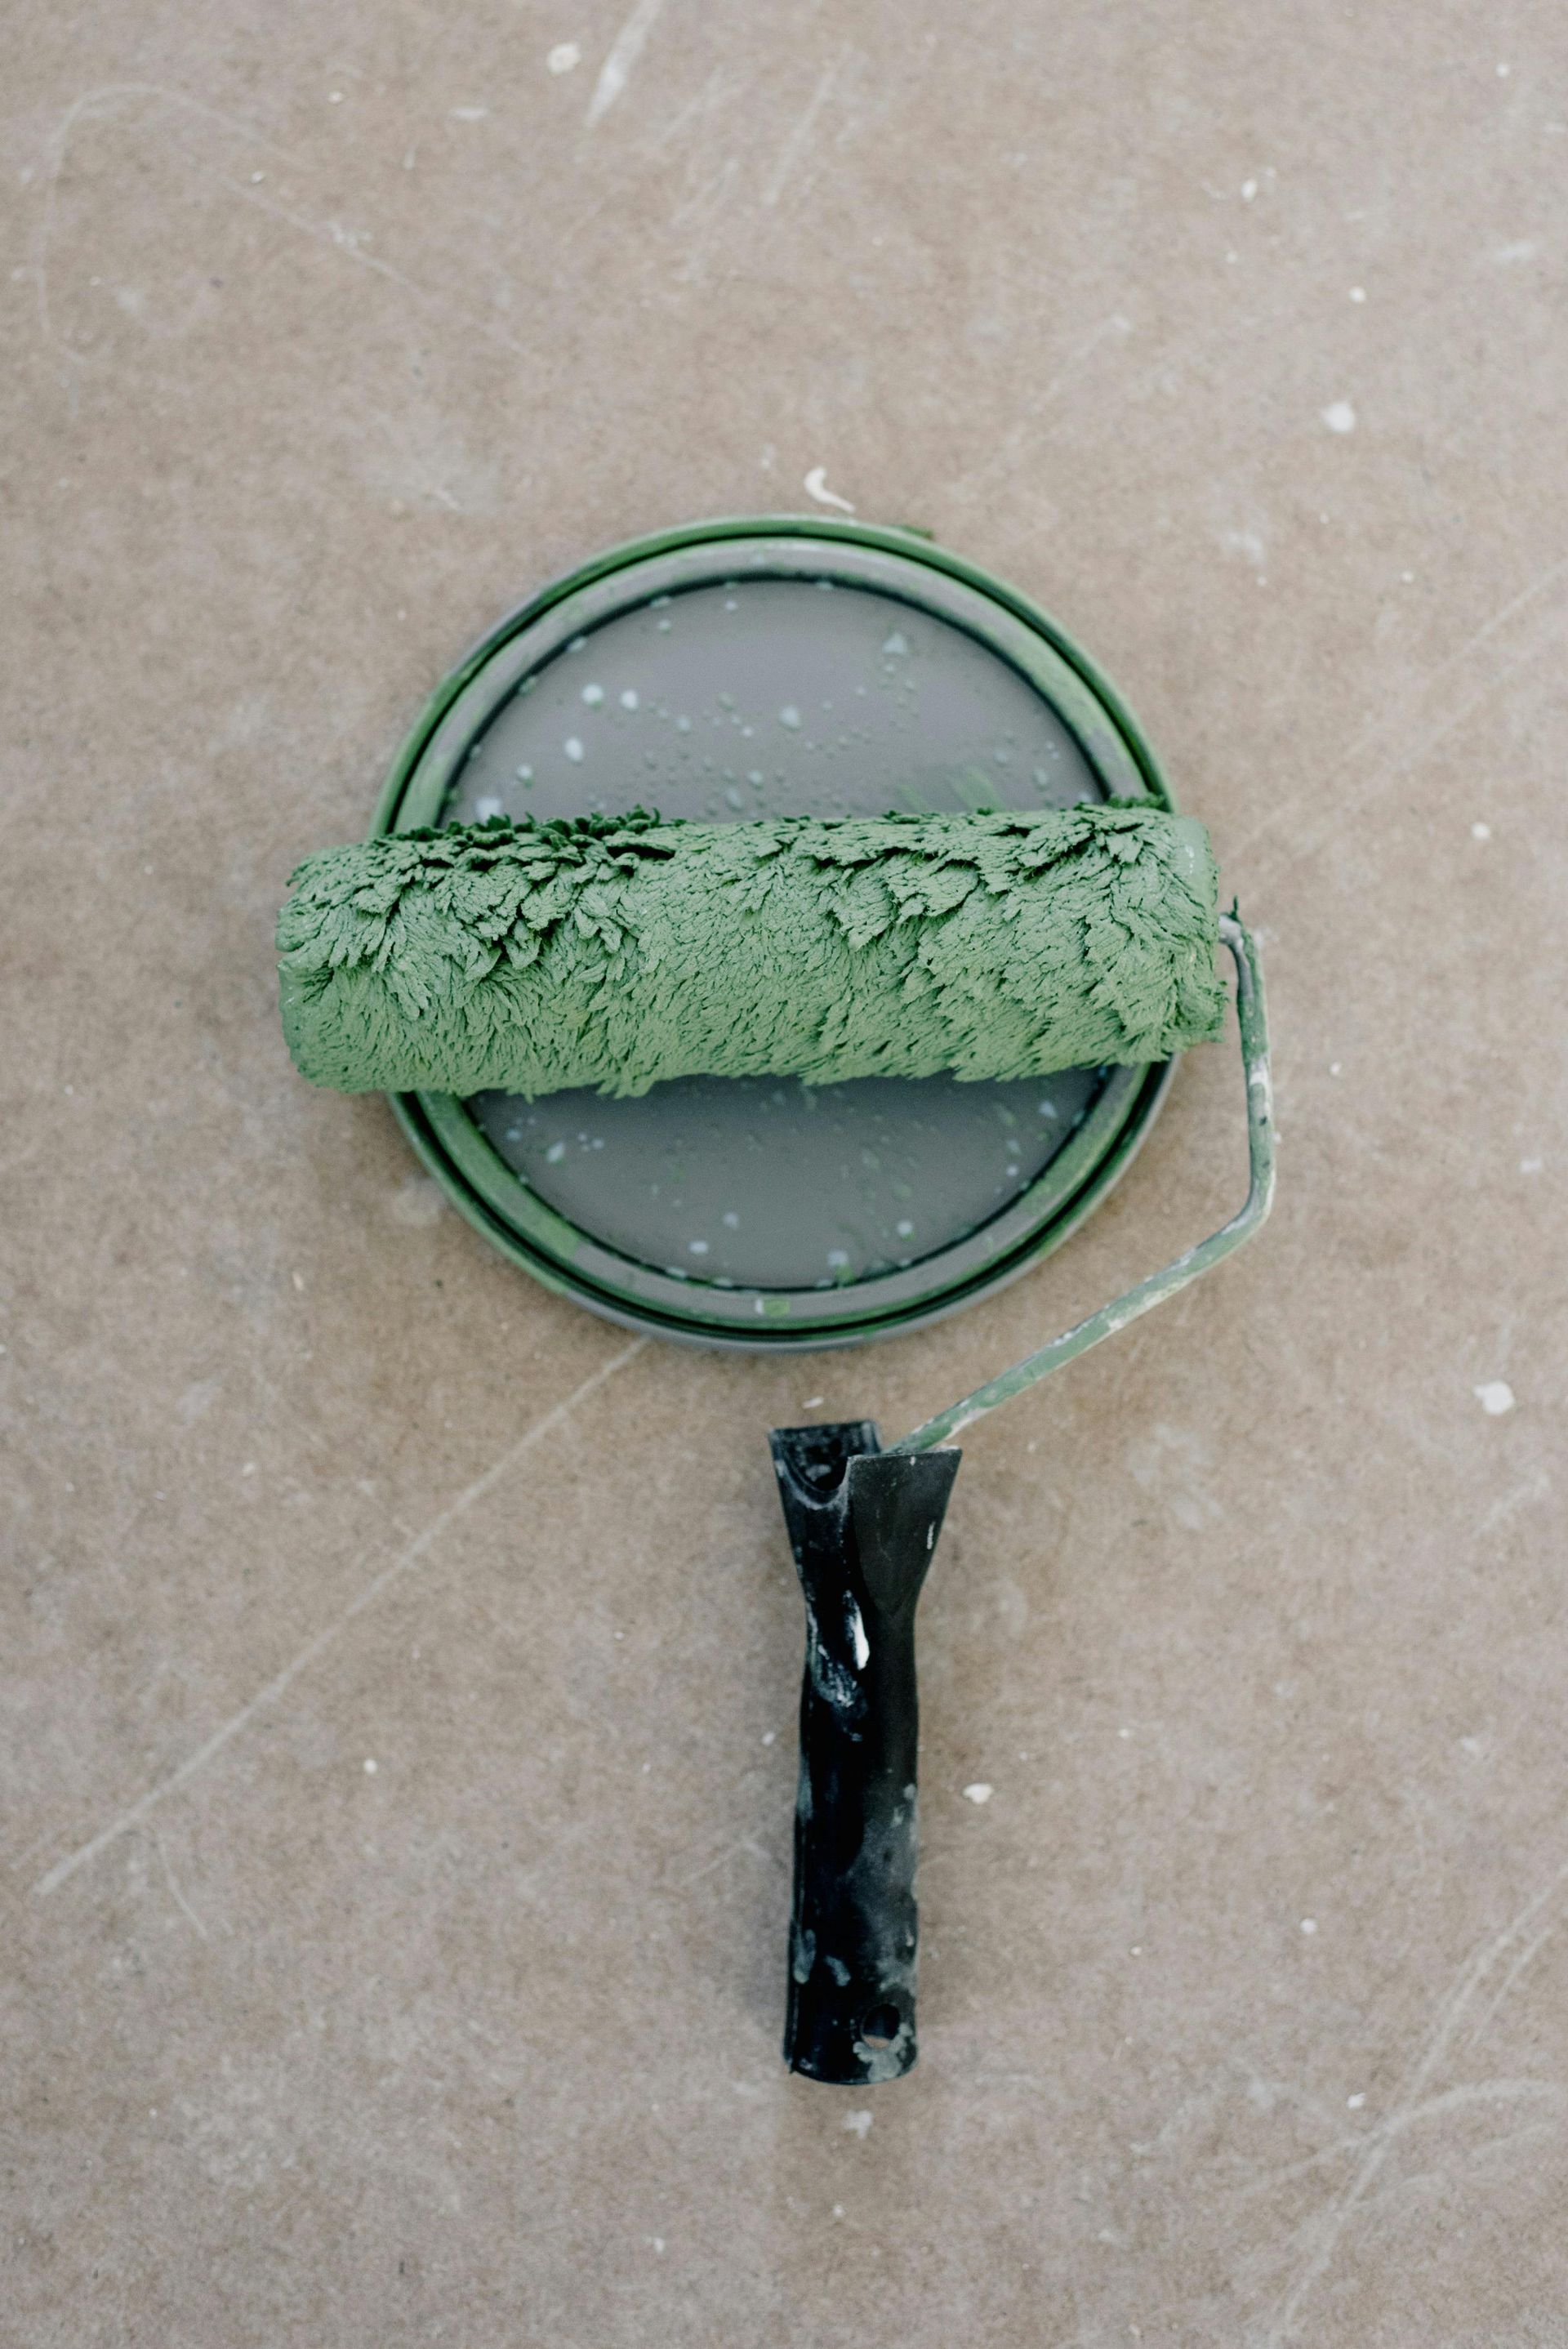
Discover the season's popular colors like deep blues, elegant greys, and vibrant greens for your cabinets.
Painting with Purpose

How to Choose the Perfect Cabinet Paint Color to Transform Your Kitchen
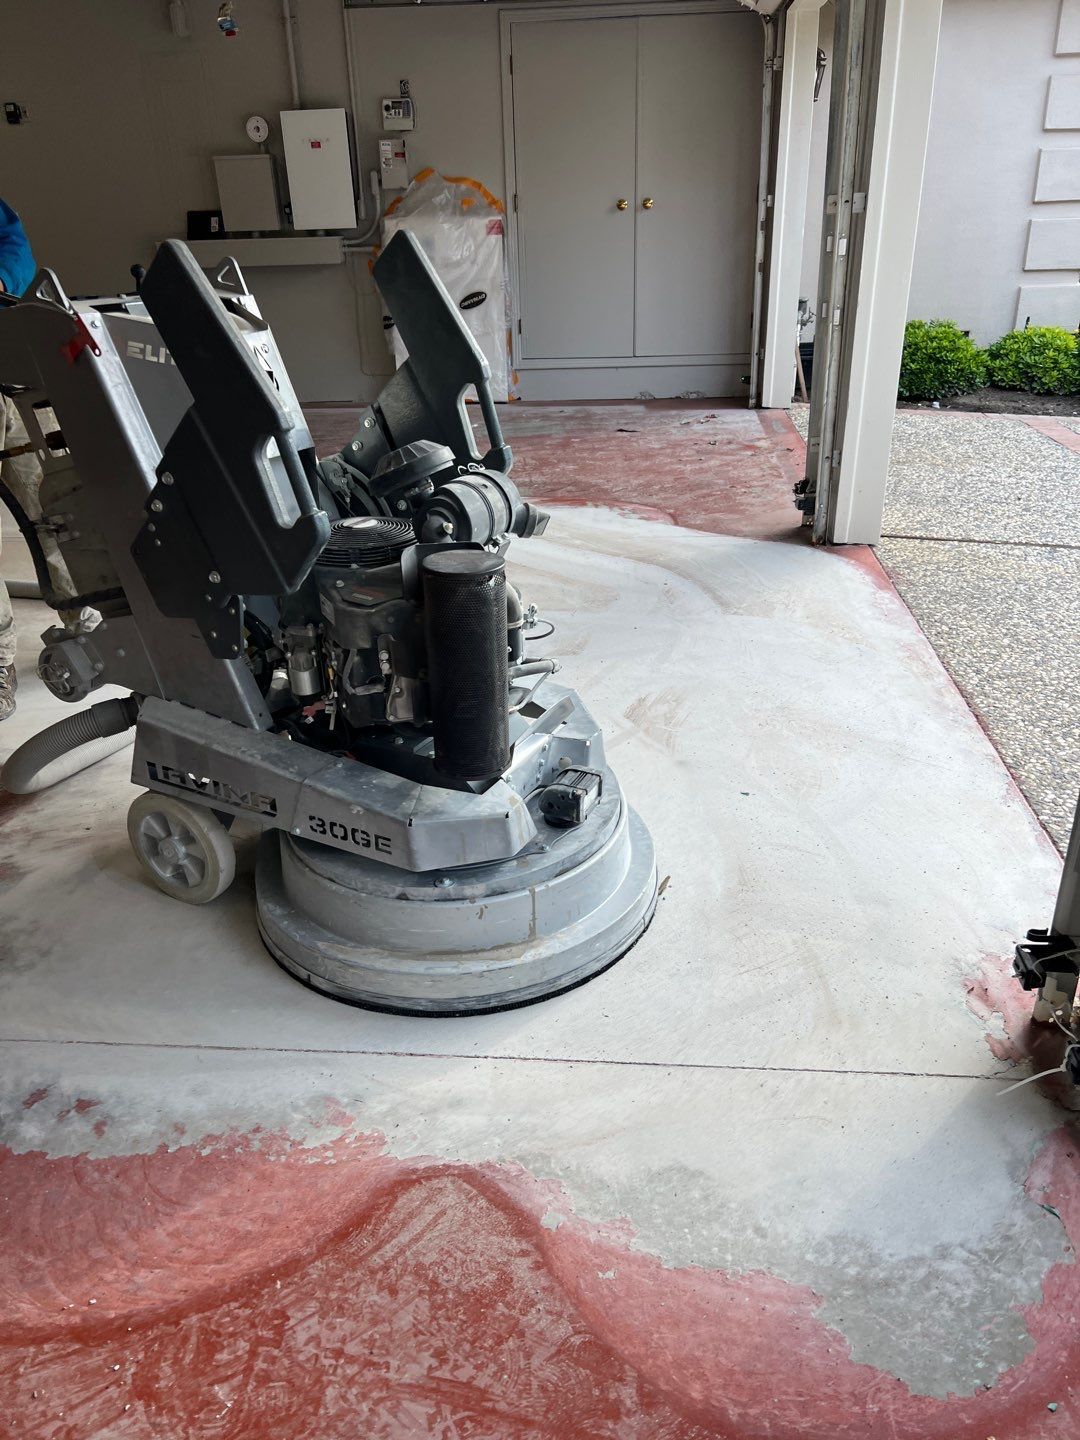
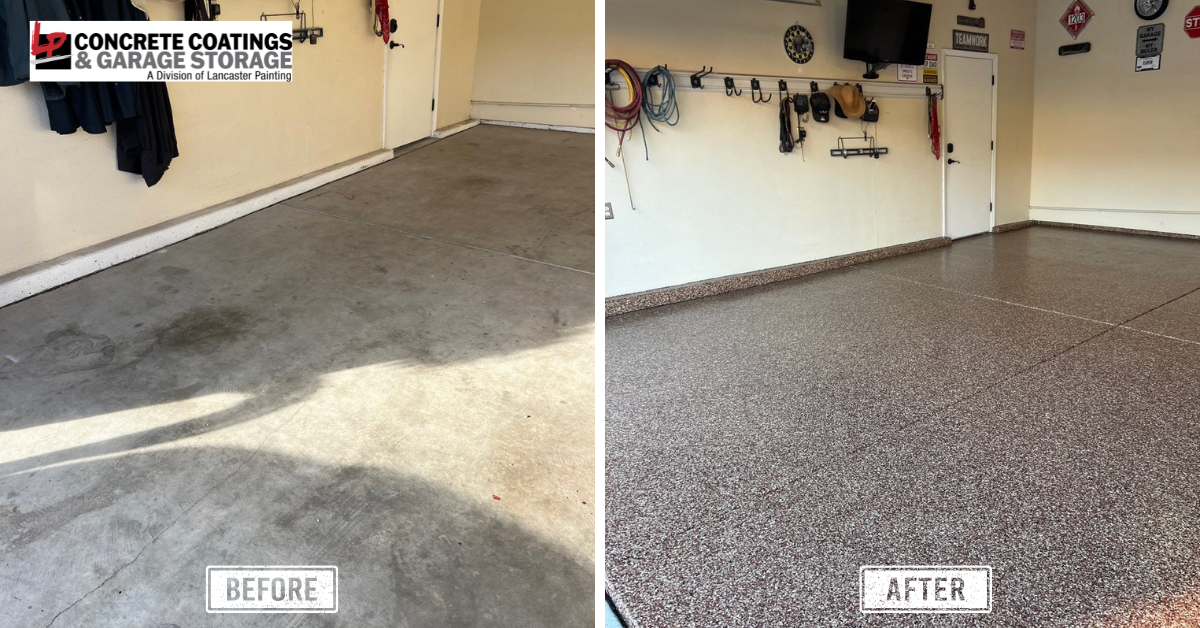
When it comes to upgrading your concrete floors, the allure of DIY projects can be tempting, especially with the myriad of DIY epoxy kits available on the market. However, when quality, durability, and long-term value are priorities, professional application of specialized concrete coatings, like those offered by our team, is the clear choice. Here’s why choosing our professional services is a superior decision over attempting a DIY project.
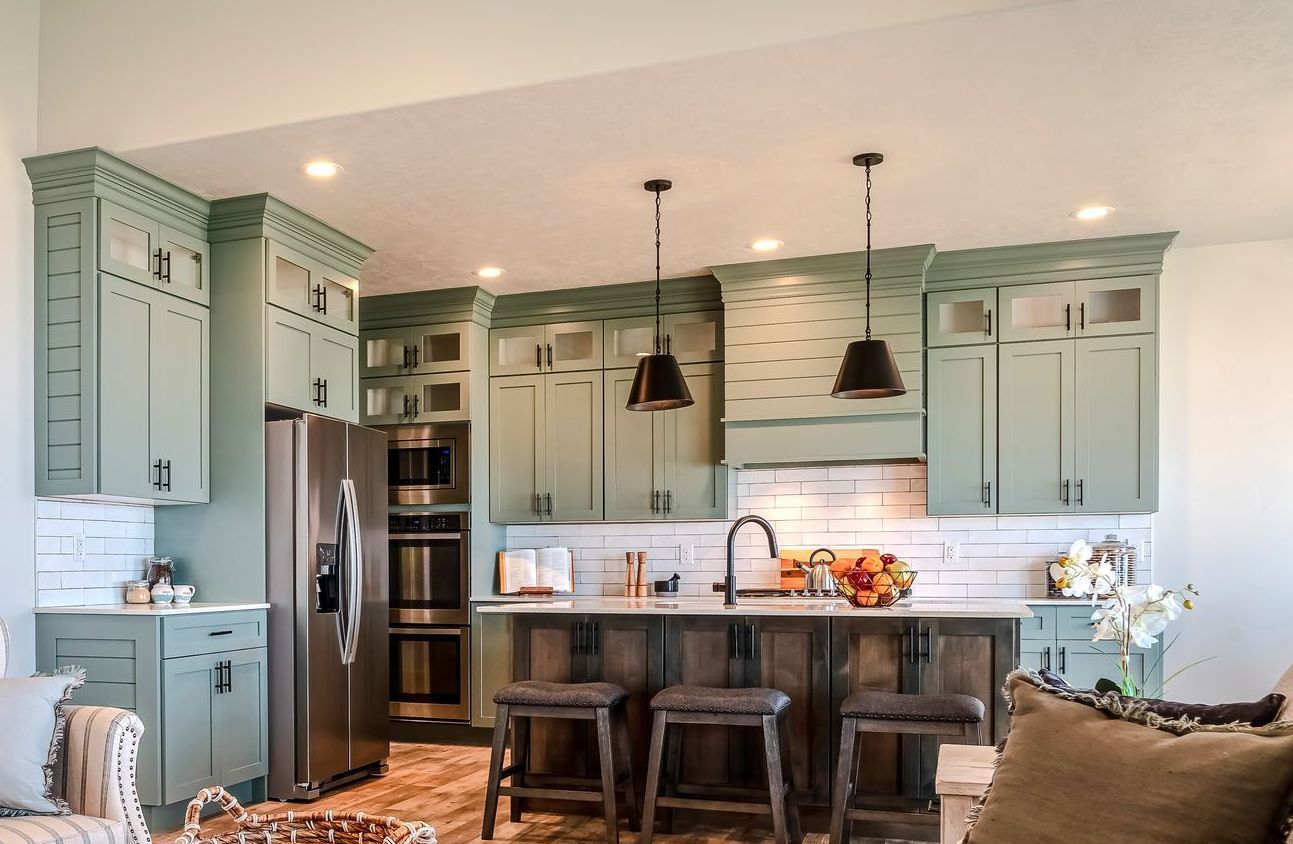
A Guide to Caring for Painted Cabinets
Revamp Your Space with Our Trusted Services

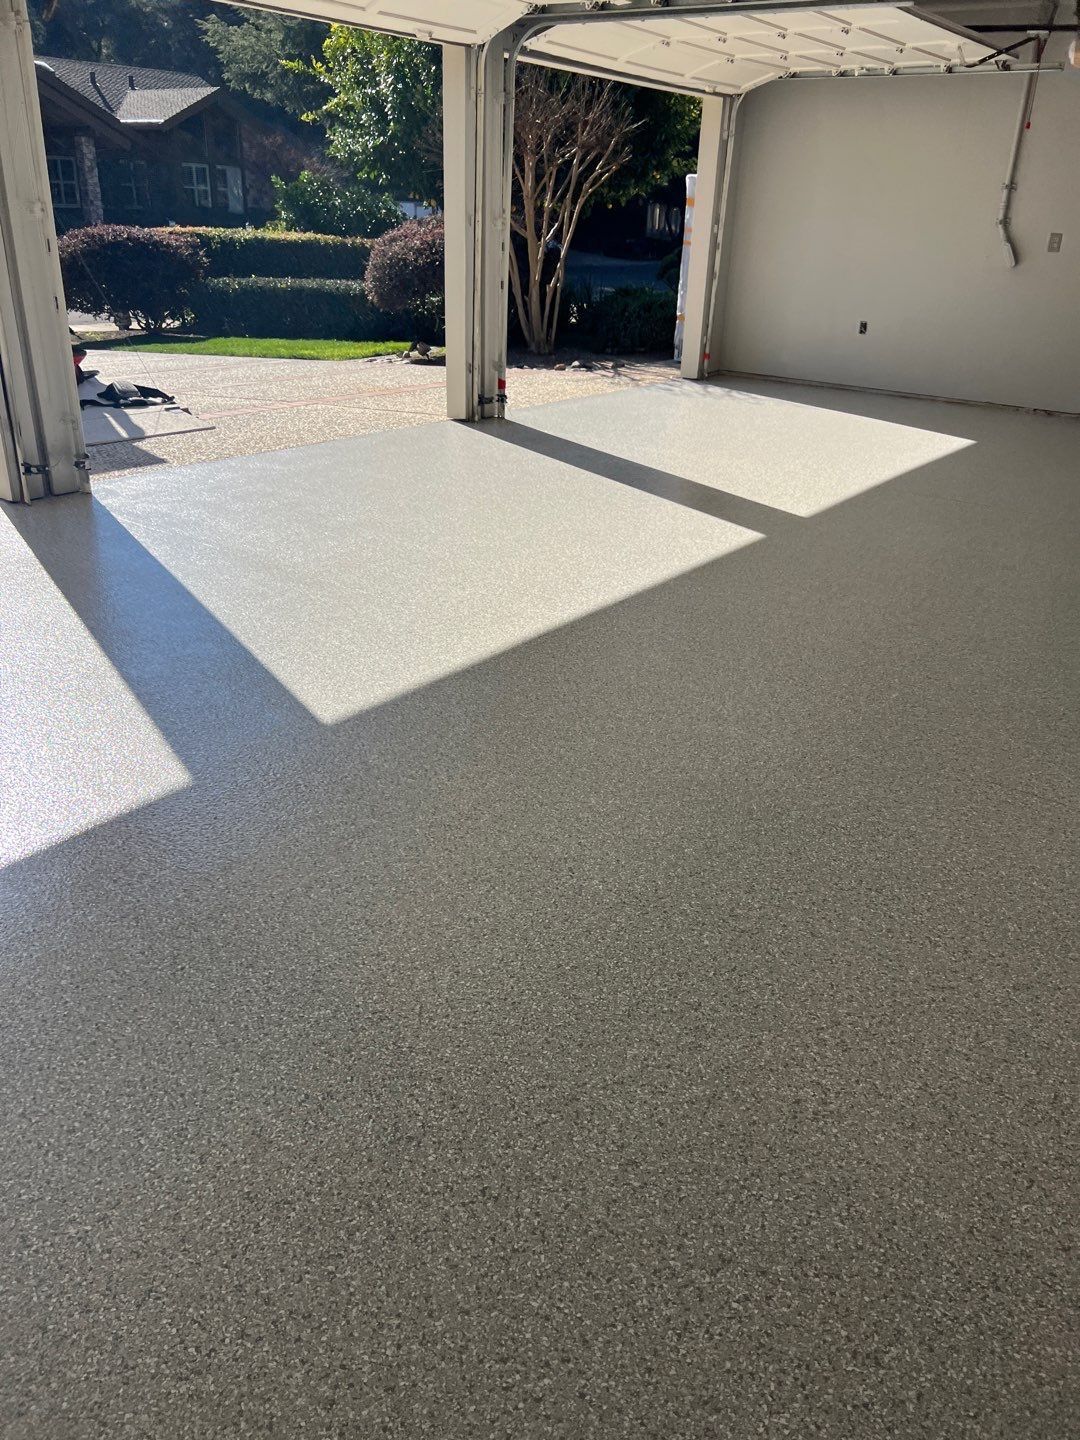
Whether you’re looking to refresh your interior spaces, give your cabinets a new look, upgrade your garage floor with durable concrete coatings, or organize your space with custom garage storage solutions, we’ve got the perfect gift for you: 25% off on all these services when you book by August 31!
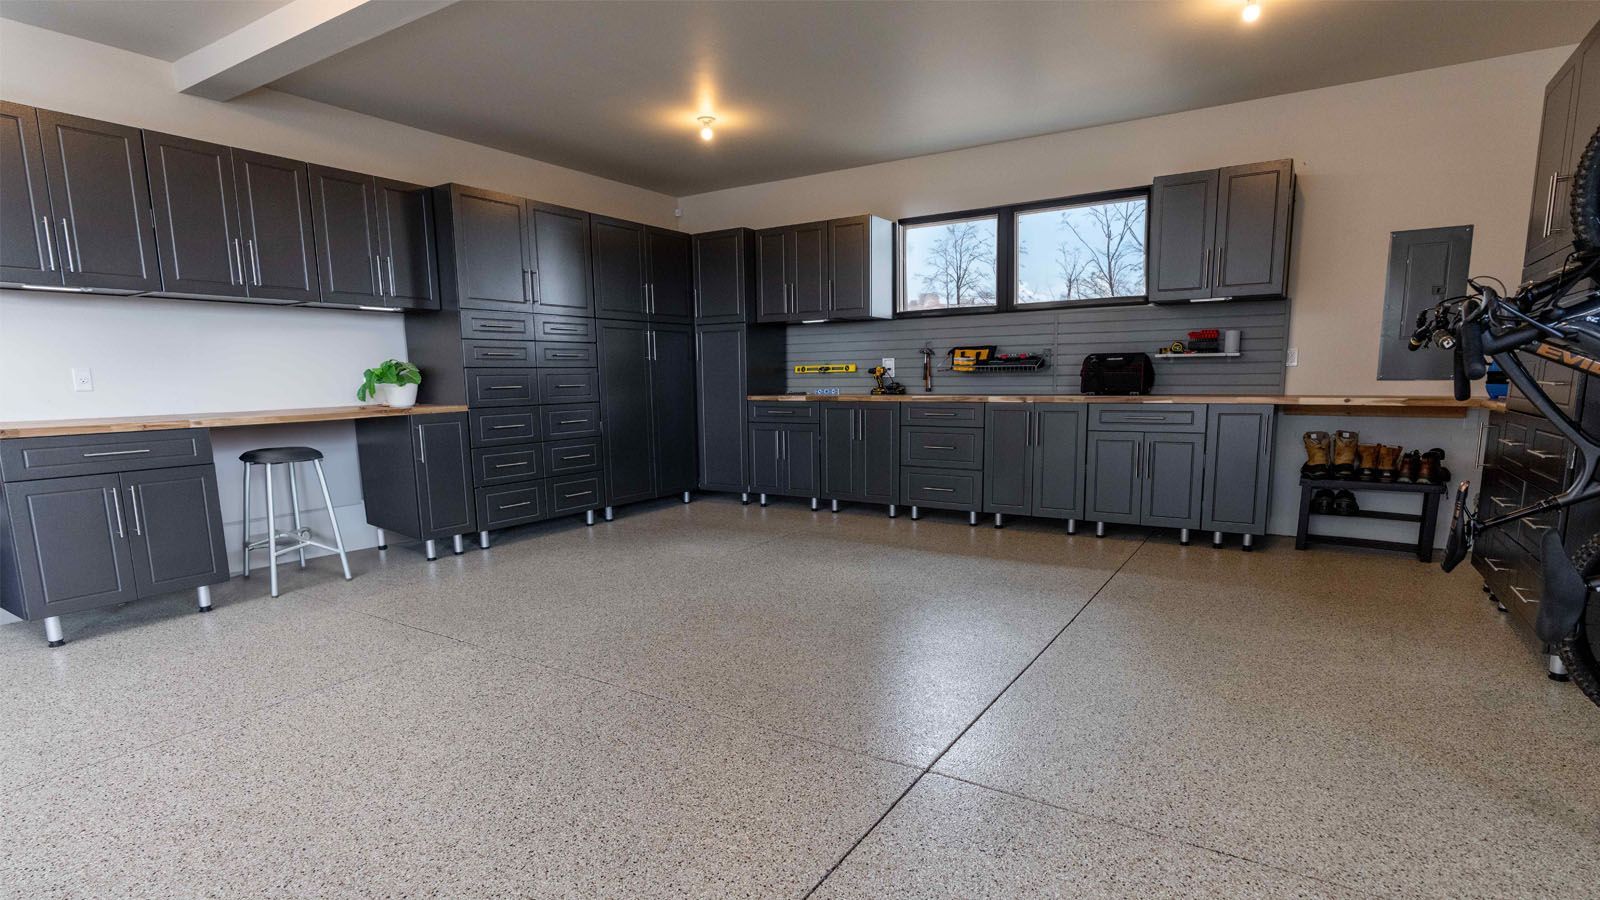
Transforming Your Garage: A Space of Your Own