If you are at all familiar with the process of painting, whether interior or exterior , you likely know that adhesion is essential. Just as a refresher, “adhesion” refers to how well the paint grips to a surface, which, in turn, determines how long and happy your new paint’s life will be.
Few things are more frustrating than watching paint slip off a surface, or applying coat after coat, creating a gummy mess that just won’t last. Hopefully you haven’t found yourself in that situation, but many homeowners do who tackle a home painting project without understanding the process.
Two Keys to a Successful Painting Project
Ready for them?
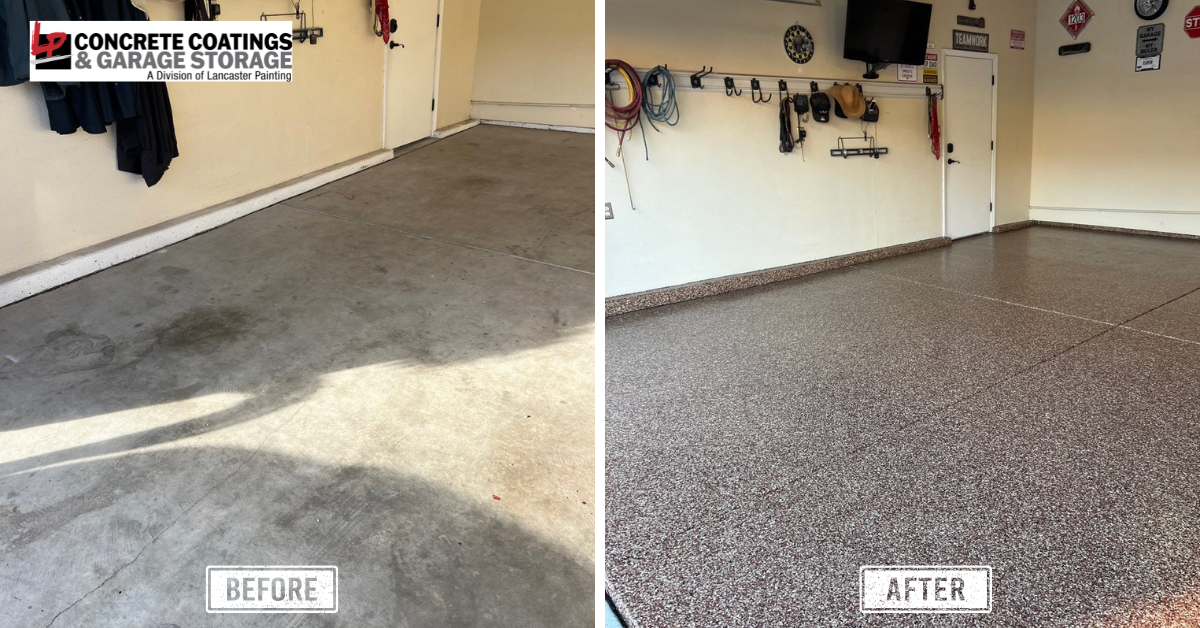
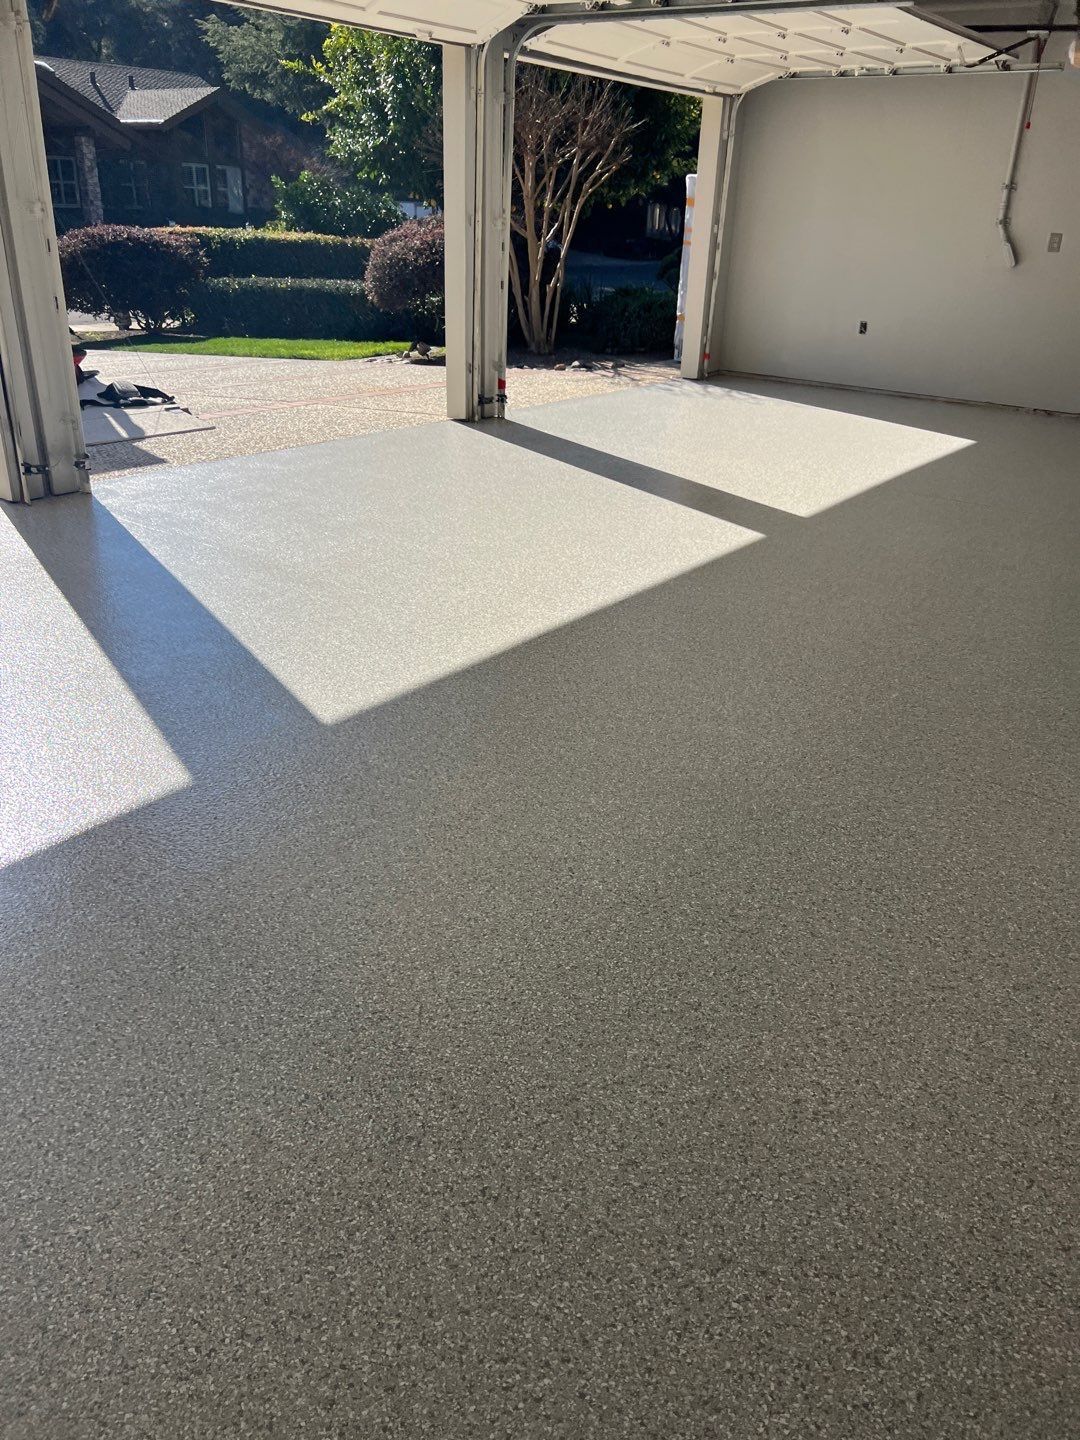
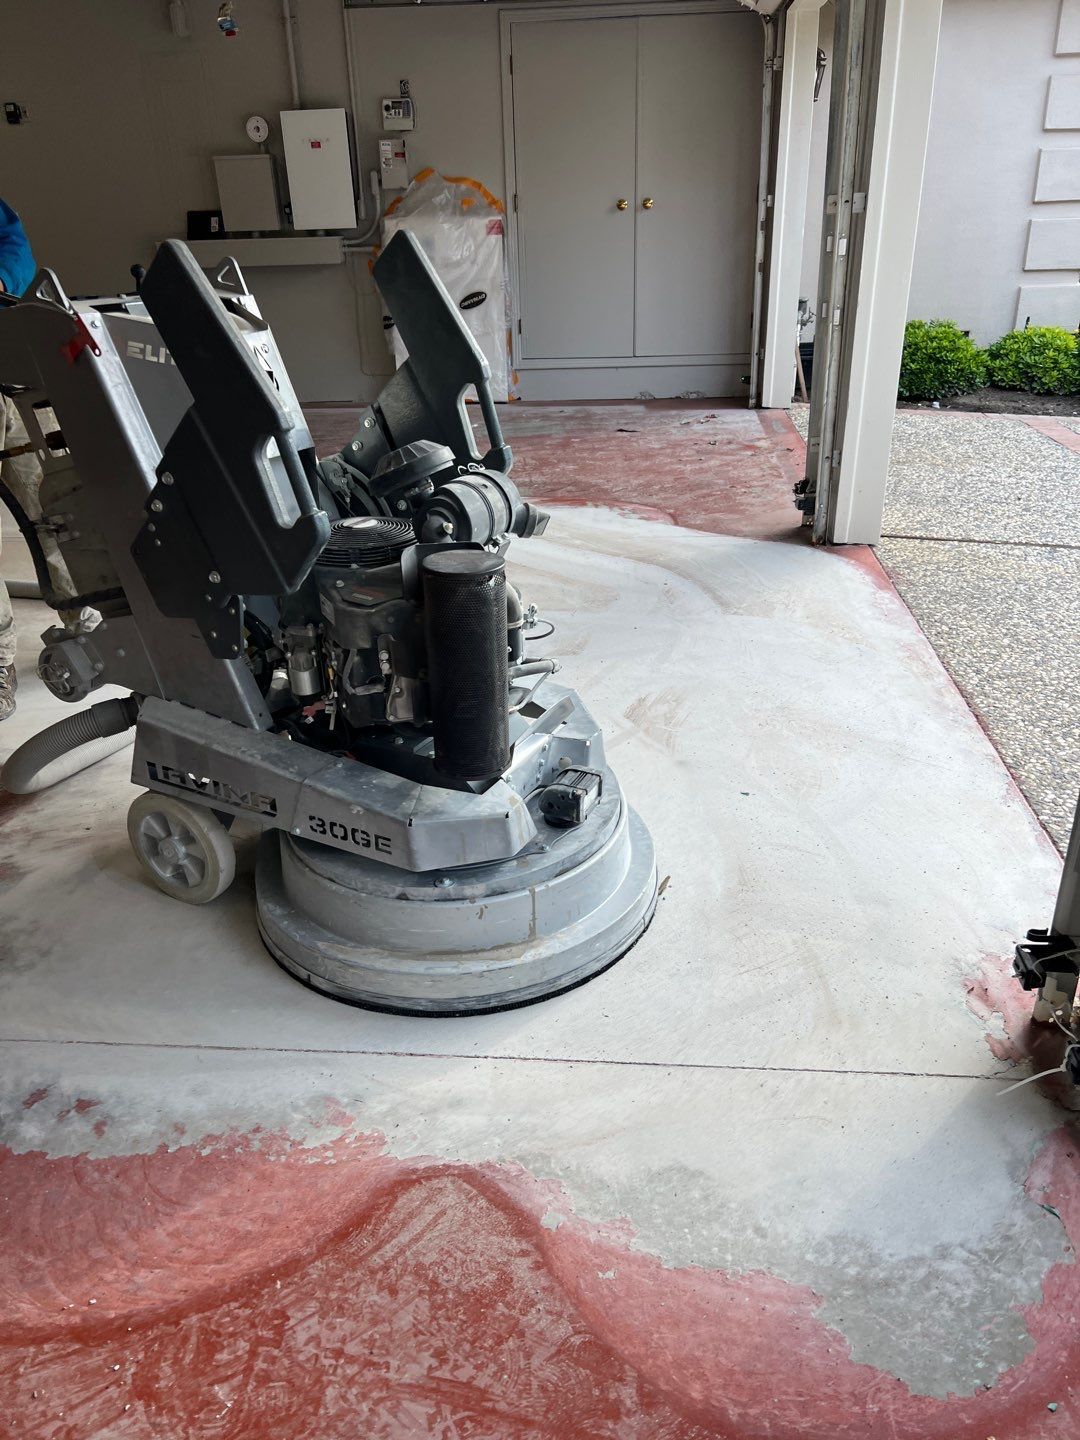
Surface preparation and choosing the right product for your job are two of the primary keys to painting success. If you’re painting your garden shed, for example, you likely will need to scrape, repair, sand, prime, and paint the siding. These steps will create a solid, healthy surface, and one that is ready to receive your primer and topcoat.
This all leads to an interesting question: what do you do if you need to paint a slippery surface that is just not conducive to traditional painting techniques? How do you achieve thorough adhesion?
We’d rather show you than just tell you. If you have a couple of minutes, let’s take a tour of a recent project we finished that involved painting a metal gate. The photos are above and the steps are below, for quick reference.
Painting a Metal Gate - How Do You Get the Paint to Stick?
When black paint looks good it’s great, but when it gets tired, well, it looks terrible.
As you can see above, the elements had worked their destructive magic, fading the paint and adding bits of rust here and there.
These are the steps we took that led to a restored finish:
- Masked the area to protect surrounding surfaces
- Prepped/scraped the gate to remove loose, failing paint
- We then scuffed the metal to create a more grippy, receptive home for the primer and paint (this was a critical step to achieve that adhesion we talked about)
- We primed the rusty areas with an oil-based primer from Zinsser
- Finally, we sprayed the gates with Sher-Cryl in Tricorn black - this is a high-performance acrylic paint from Sherwin-Williams that will offer the durability this gate needs
In summary, take the time to pair your products with your surface, and always invest in surface preparation. It may feel like just another step, but in reality it’s often the difference between a home painting triumph and a home painting headache.