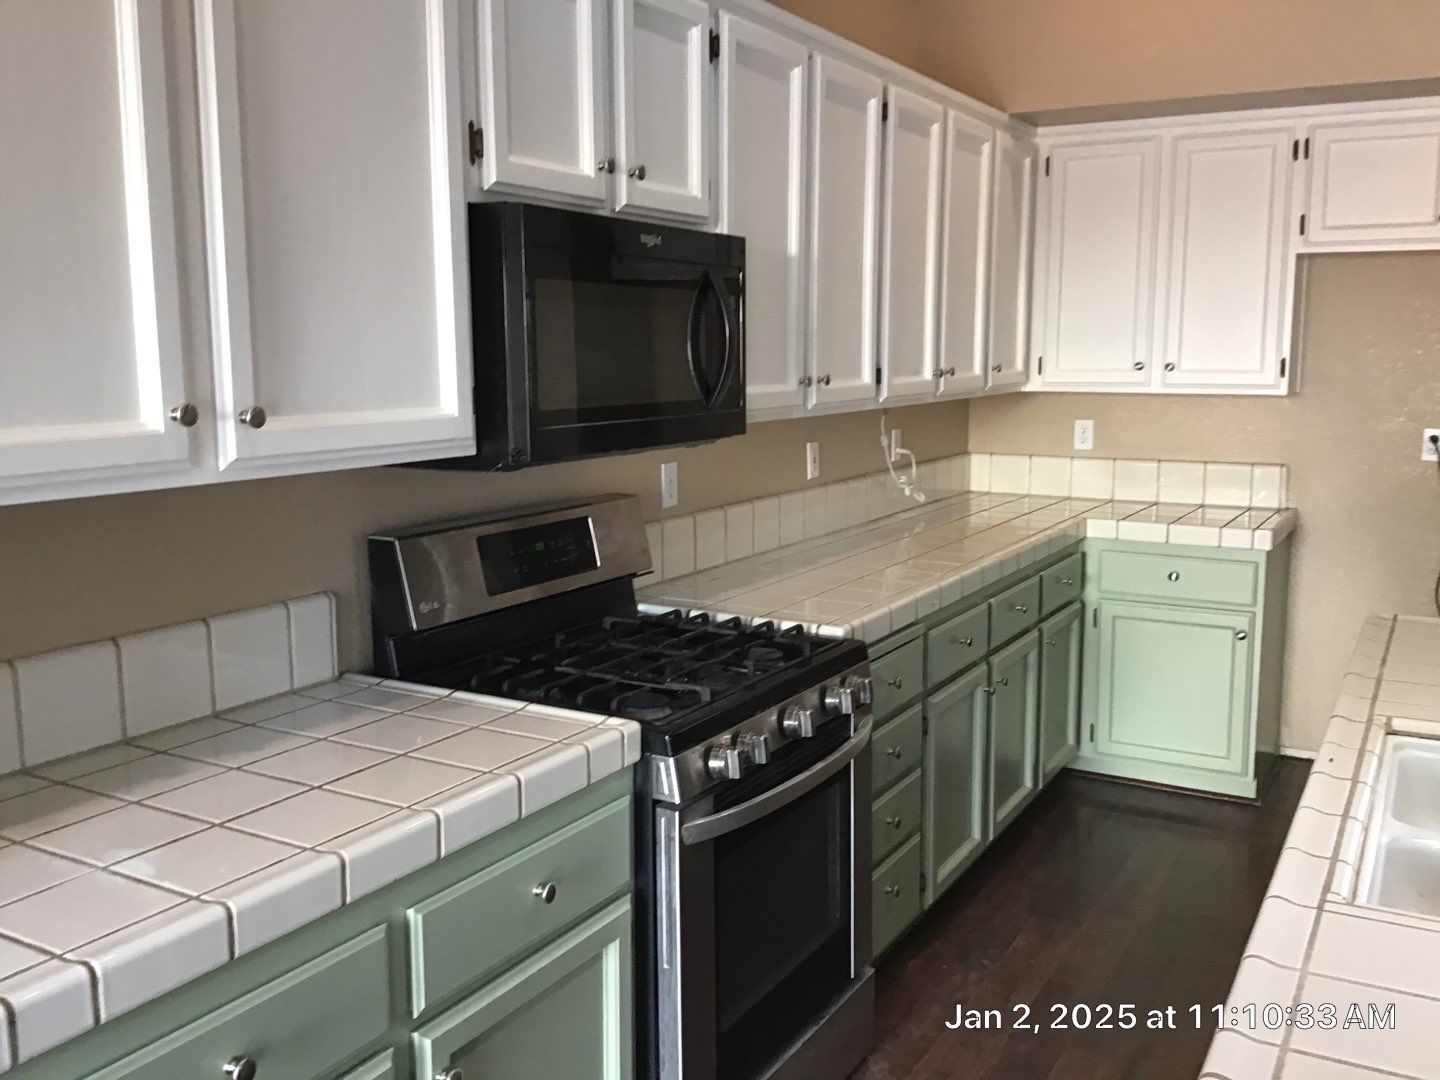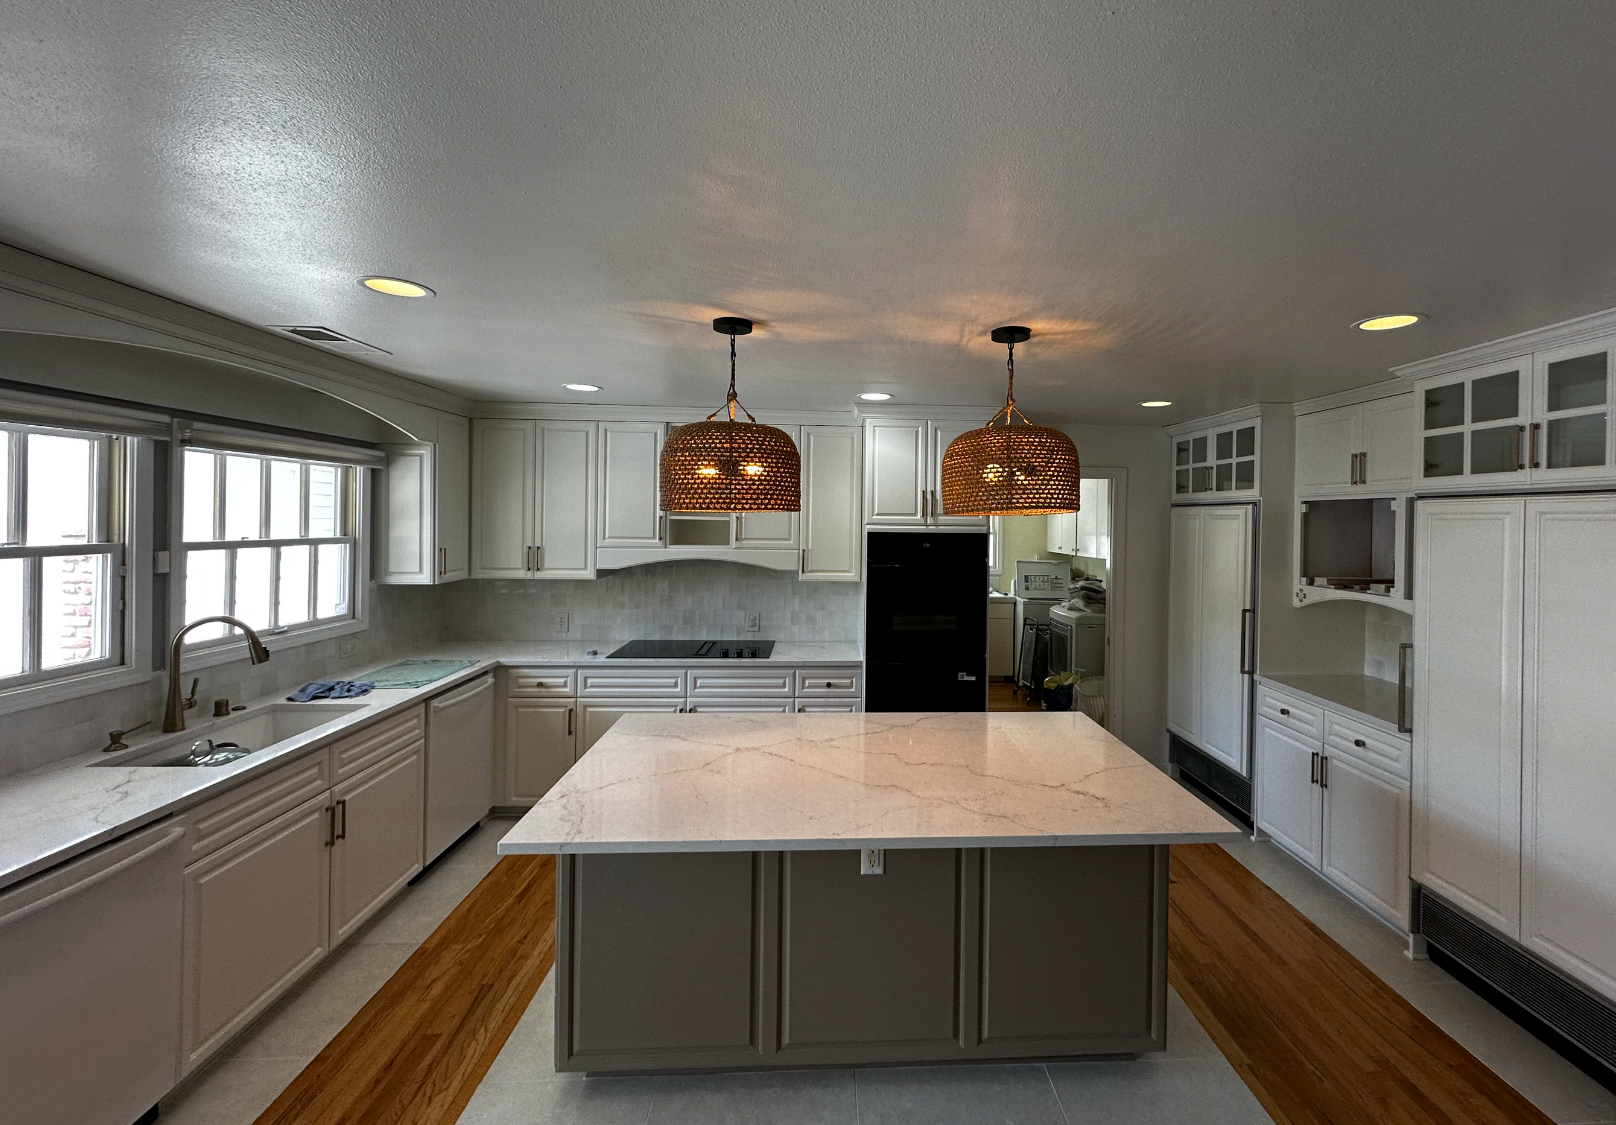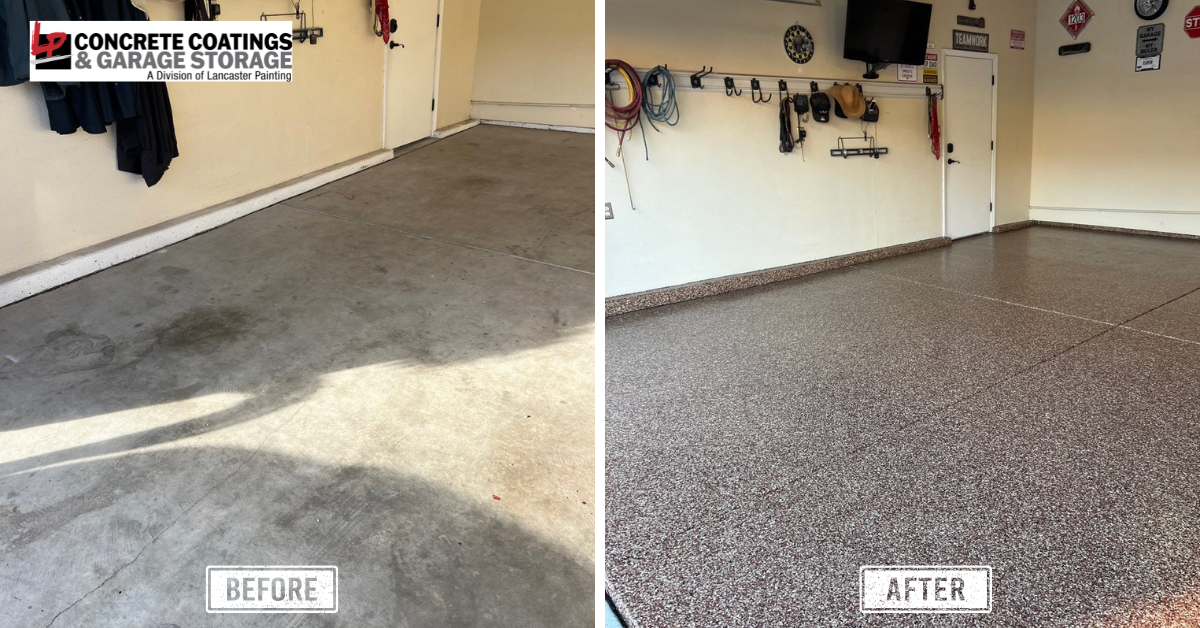

When we share house painting projects that we’ve completed, we love showing the “before” and “after” shots most. And, that’s probably your favorite part too. After all, that’s what it’s all about, isn’t it? We paint for protection and value , but we also paint for style, and as a way to bring a fresh look into familiar spaces.
Today, let’s take a step back in the process and examine what goes into preparing a room for paint. What are the steps that will propel your project from “okay” to “wow”?
Starting a Painting Project - What Should You Do?

You’ll notice a common denominator that weaves its way through our tips below: preparation. Quality house painters always dedicate the necessary time to thorough prep, ensuring that both the environment and surface are ready for paint.
#1 Clear a Workspace
Let’s face it: clearing furniture out of the way isn’t nearly as much fun as seeing what that new color will look like as it’s rolled onto your walls. Protecting your belongings is an essential step! Clear a roomy work area around the perimeter, and be sure to cover any nearby furniture and flooring.
#2 Remove Fixtures
Switch plates, outlet covers, and fixtures that can be moved should be taken out of the equation. A small initial investment in time will make your project easier, smoother, and much more efficient.
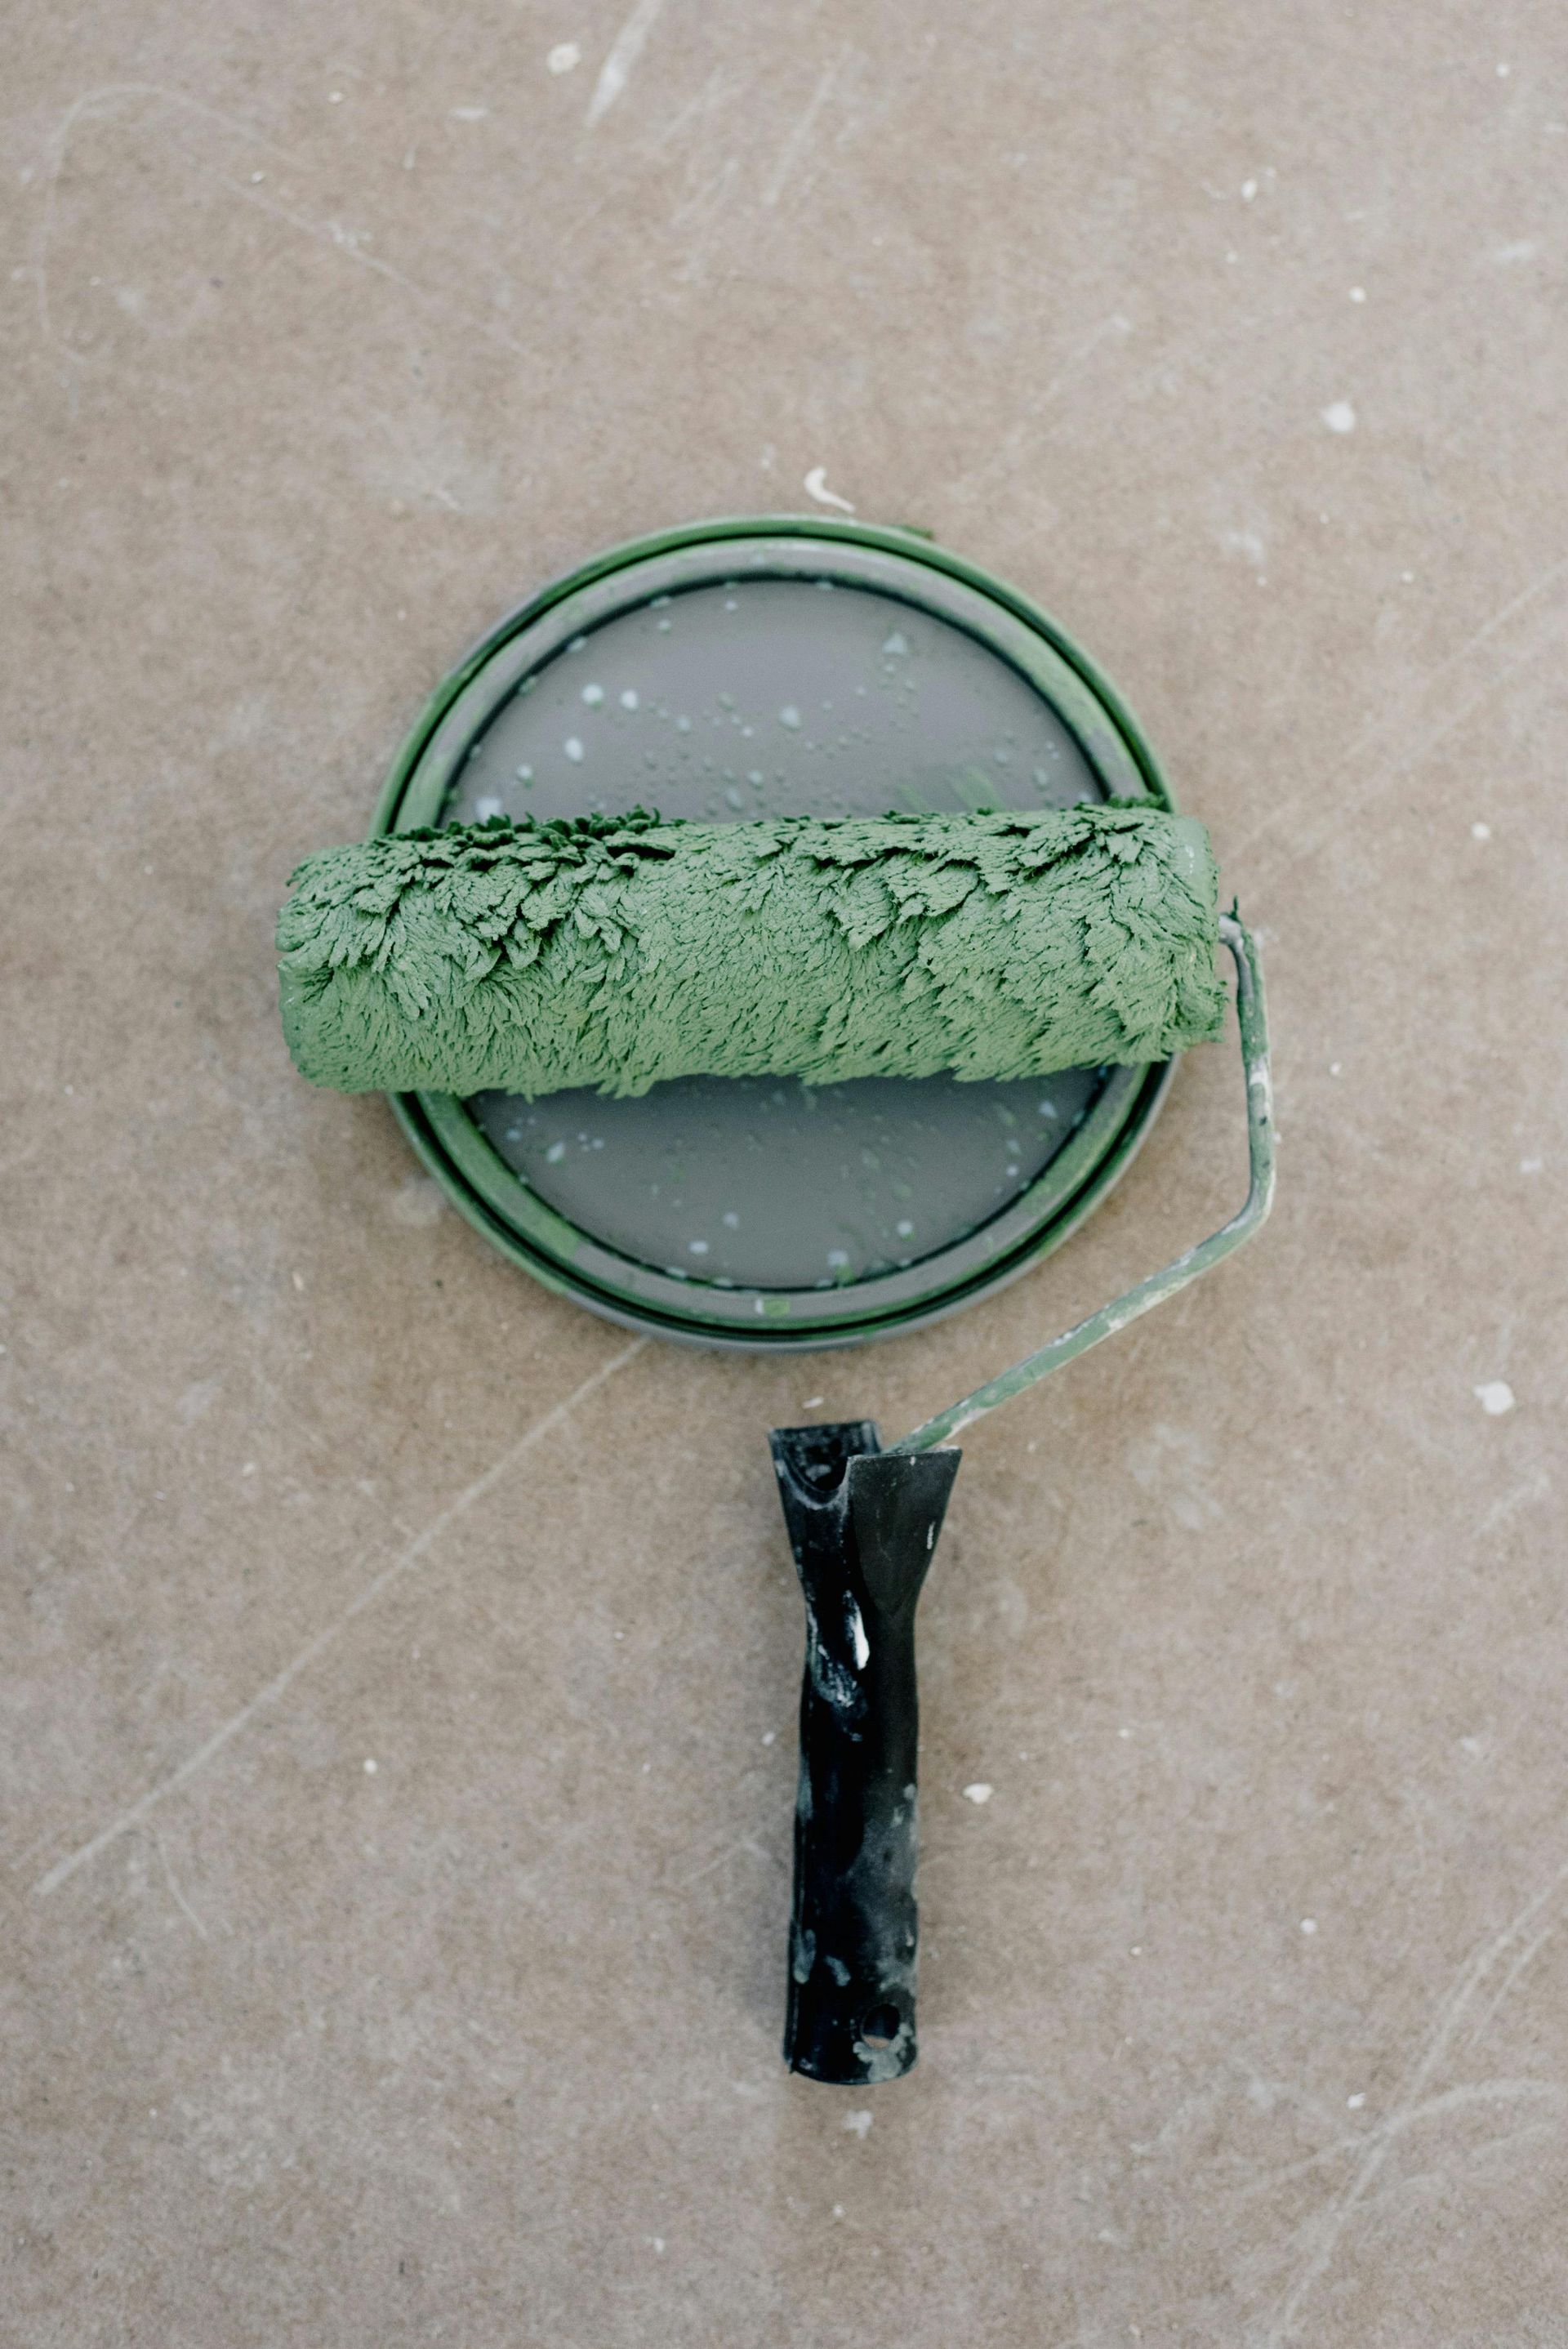
#3 There’s No Shame In Using Painter’s Tape
An experienced painter can definitely cut clean lines and perform detailed brushwork with nothing more than skill and muscle memory. If you don’t have time to become an expert, however, dedicate a little time to laying down painter’s tape around those elements that are making you nervous. It may be tedious, but it certainly is wiser than creating sloppy lines or getting paint where you don’t want it.
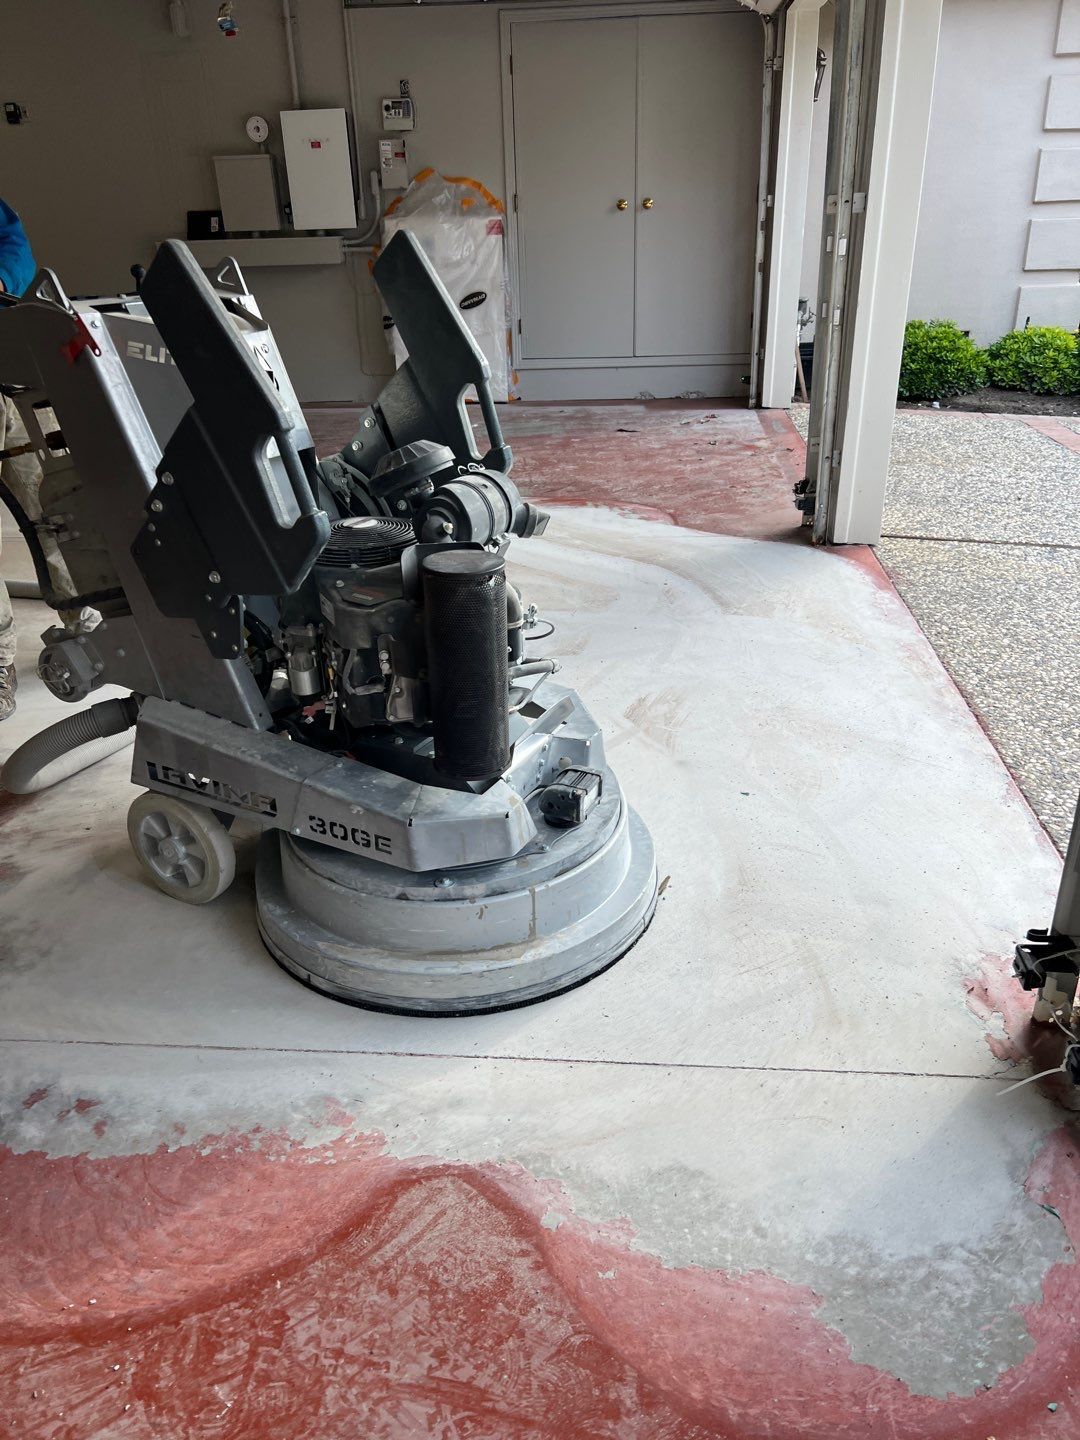
#4 Clean and Prepare the Surface
Every situation is a little different, but in general these steps should be completed:
- Make Repairs - Whether it’s a collection of nail holes from picture frames or a ding from your kiddo’s flying toy, now is the time to patch any damaged points.
- Sand - Certainly sand your patched repairs, but going over your walls with a fine sandpaper in their entirety is a good idea as well.
- Clean - Make sure your wall is thoroughly dusted and free of any cobwebs or debris.
- Prime - Even if you don’t need to prime the entire wall, you will need to prime over the repaired sections to ensure a smooth finish.
The Secret to Interior Painting Is Simple!
The secret is really no secret: it’s a combination of skill, experience, proper tools and products, and taking the time to do the job correctly. Rushing the process may be more fun at first, but it certainly won’t be when you experience a disappointing finished product or premature paint failure.
Painting is harder, more technical work than many homeowners realize. This is just one of the many reasons why it can be wise to call a professional , ensuring a smooth, durable, beautiful finish.