
Garage Floor Coating in Ripon, CA
November 29, 2021
Ready for some major garage inspiration?
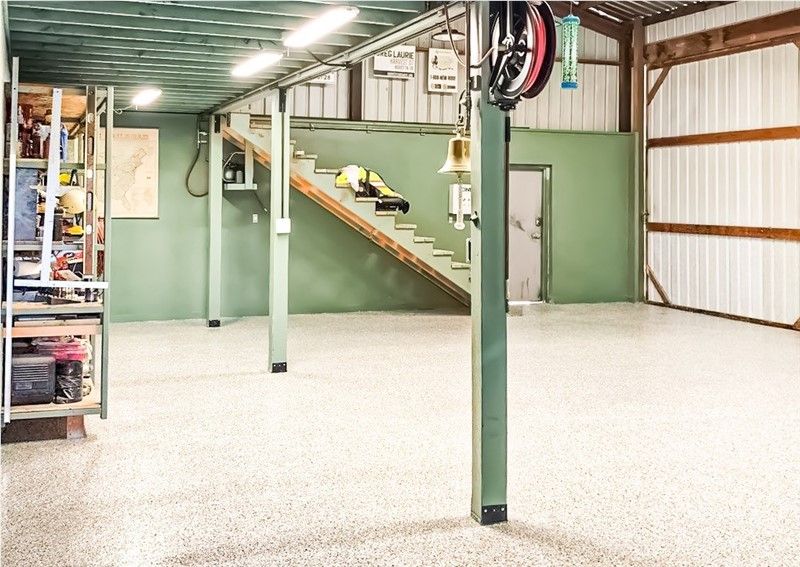
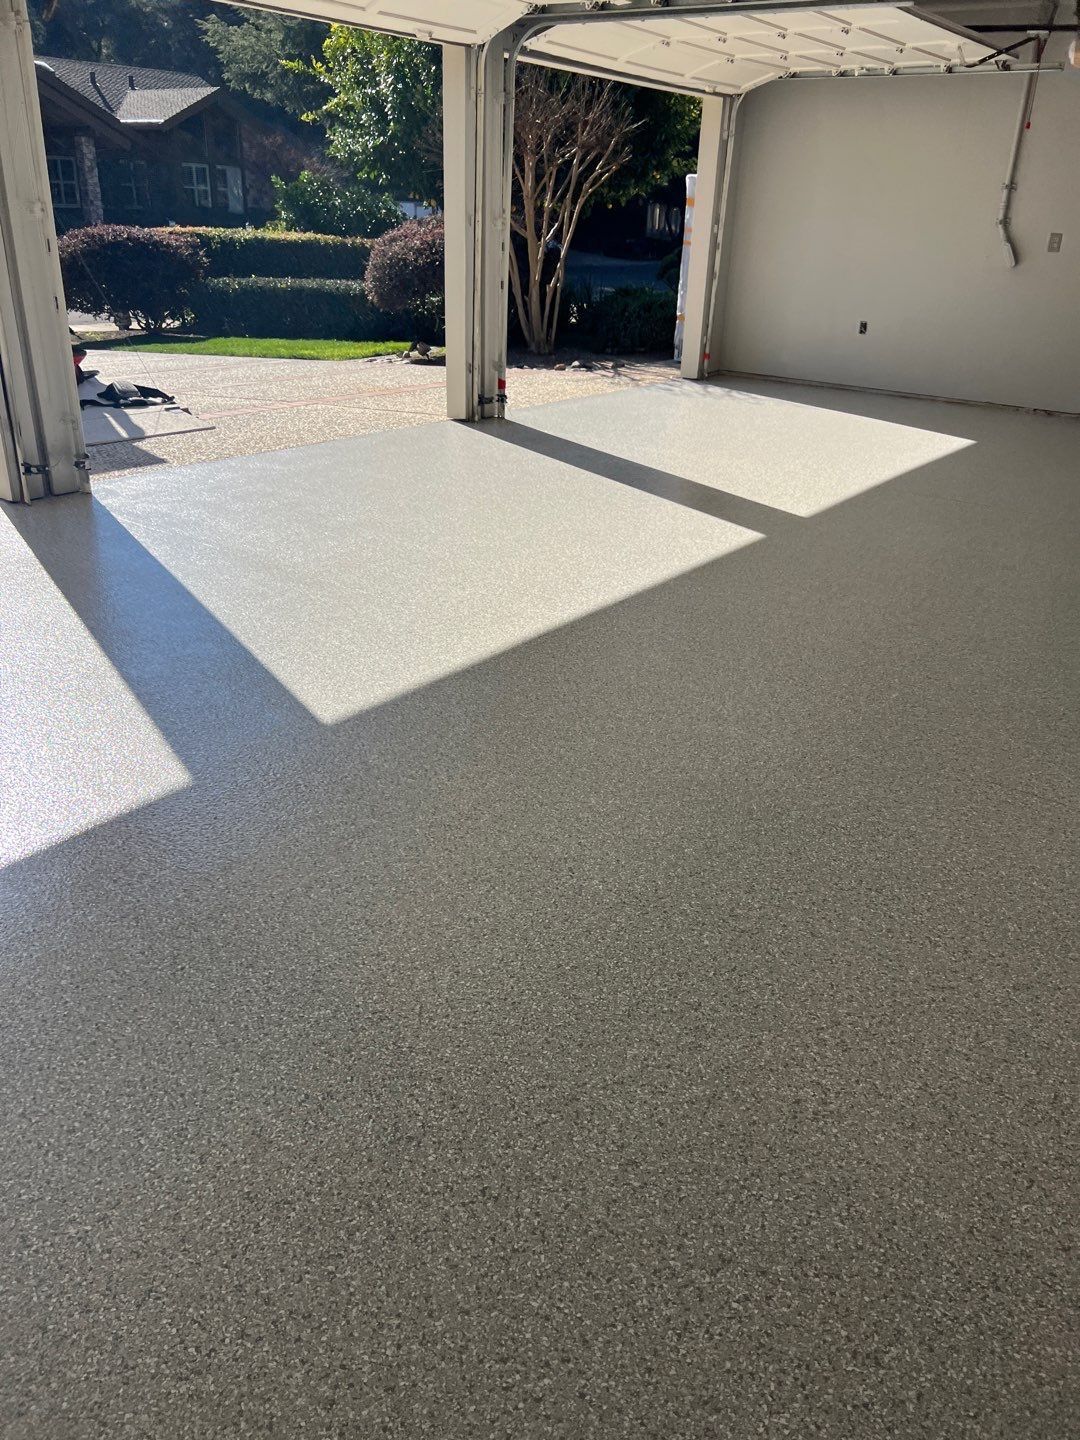
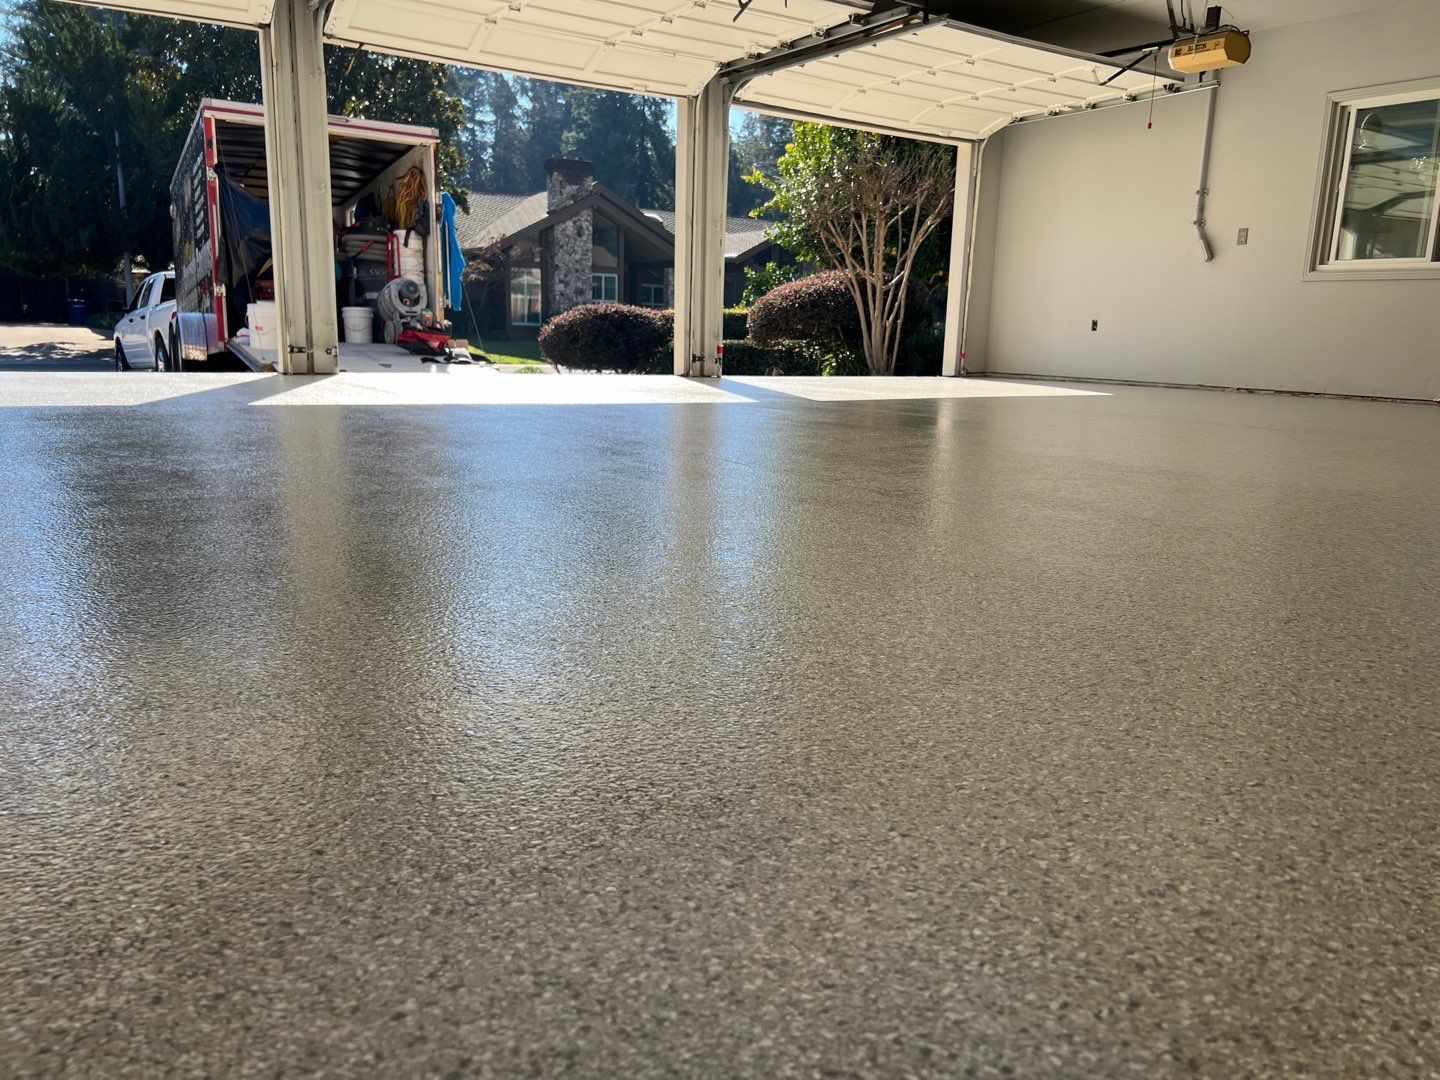
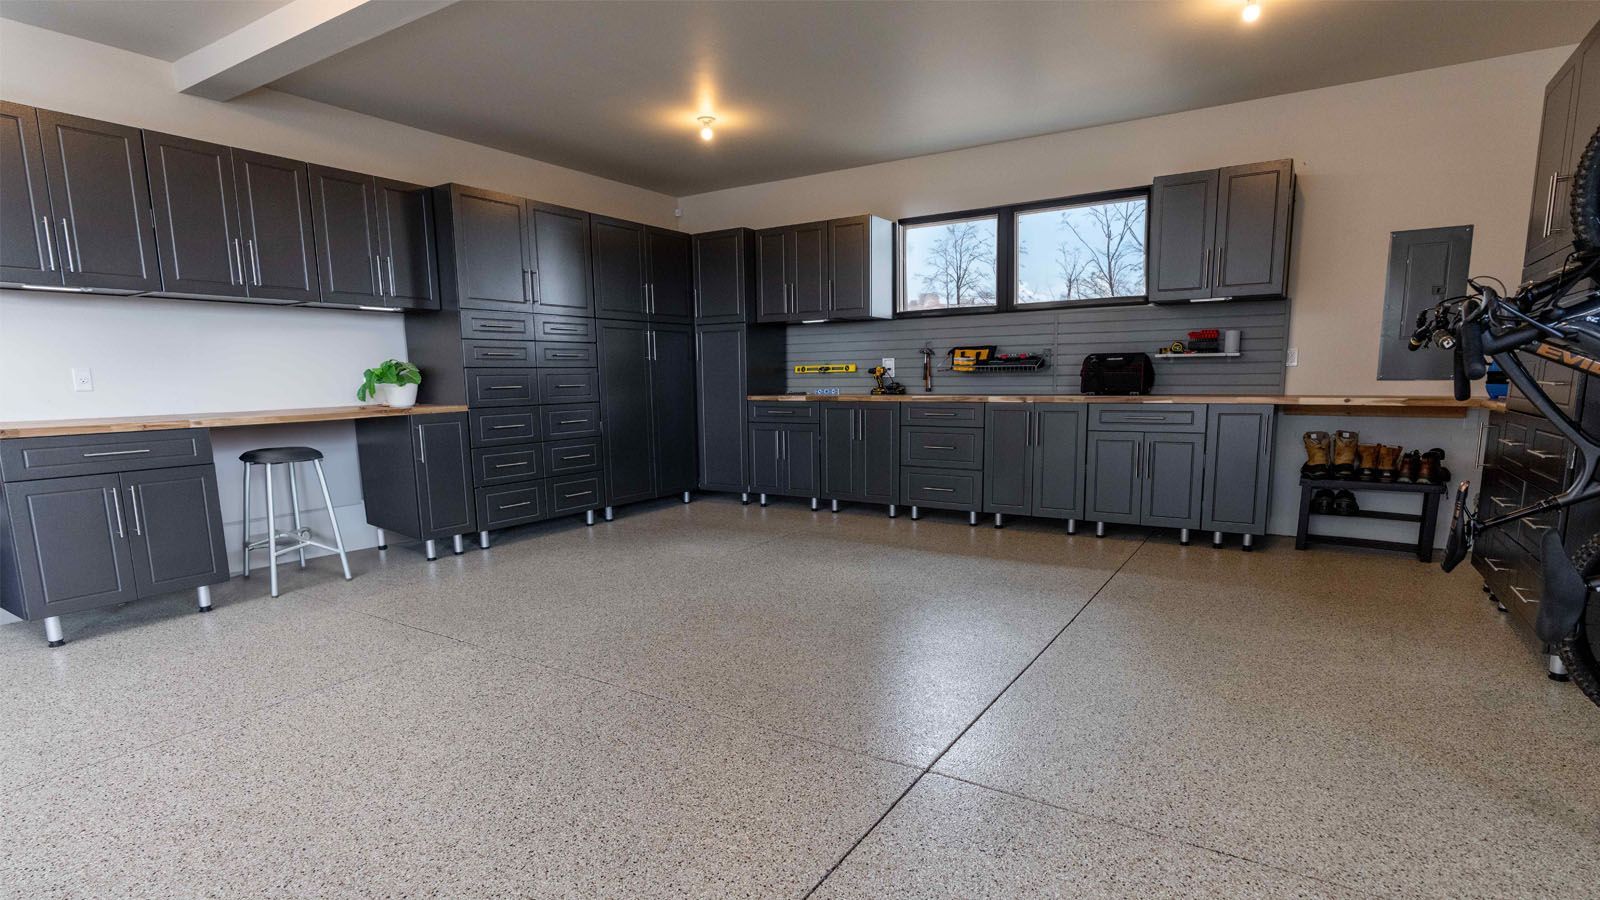
Glen called us in to put the finishing touches on the floor in his garage in Ripon. His space is pretty incredible, rocking a wide open floor plan, second floor, and multiple door access. The only thing he needed was a way to protect and enhance the concrete, erasing those inevitable stains and points of damage that accumulate over time, laying down a system that would really deliver both form and function.
After reviewing his options, we settled on a Slatestone coating, utilizing our 1-day garage floor system. Every step is designed for max performance and longevity, while still being super low-maintenance and easy to clean. Taking it a step further, this system is even impact and chemical resistant, making it the ideal solution for busy spaces that will see a lot of use and work.
How Do You Install a Garage Floor Coating?
Our process involves the following:
-
Filling any cracks or gaps with our specialized concrete mender.
-
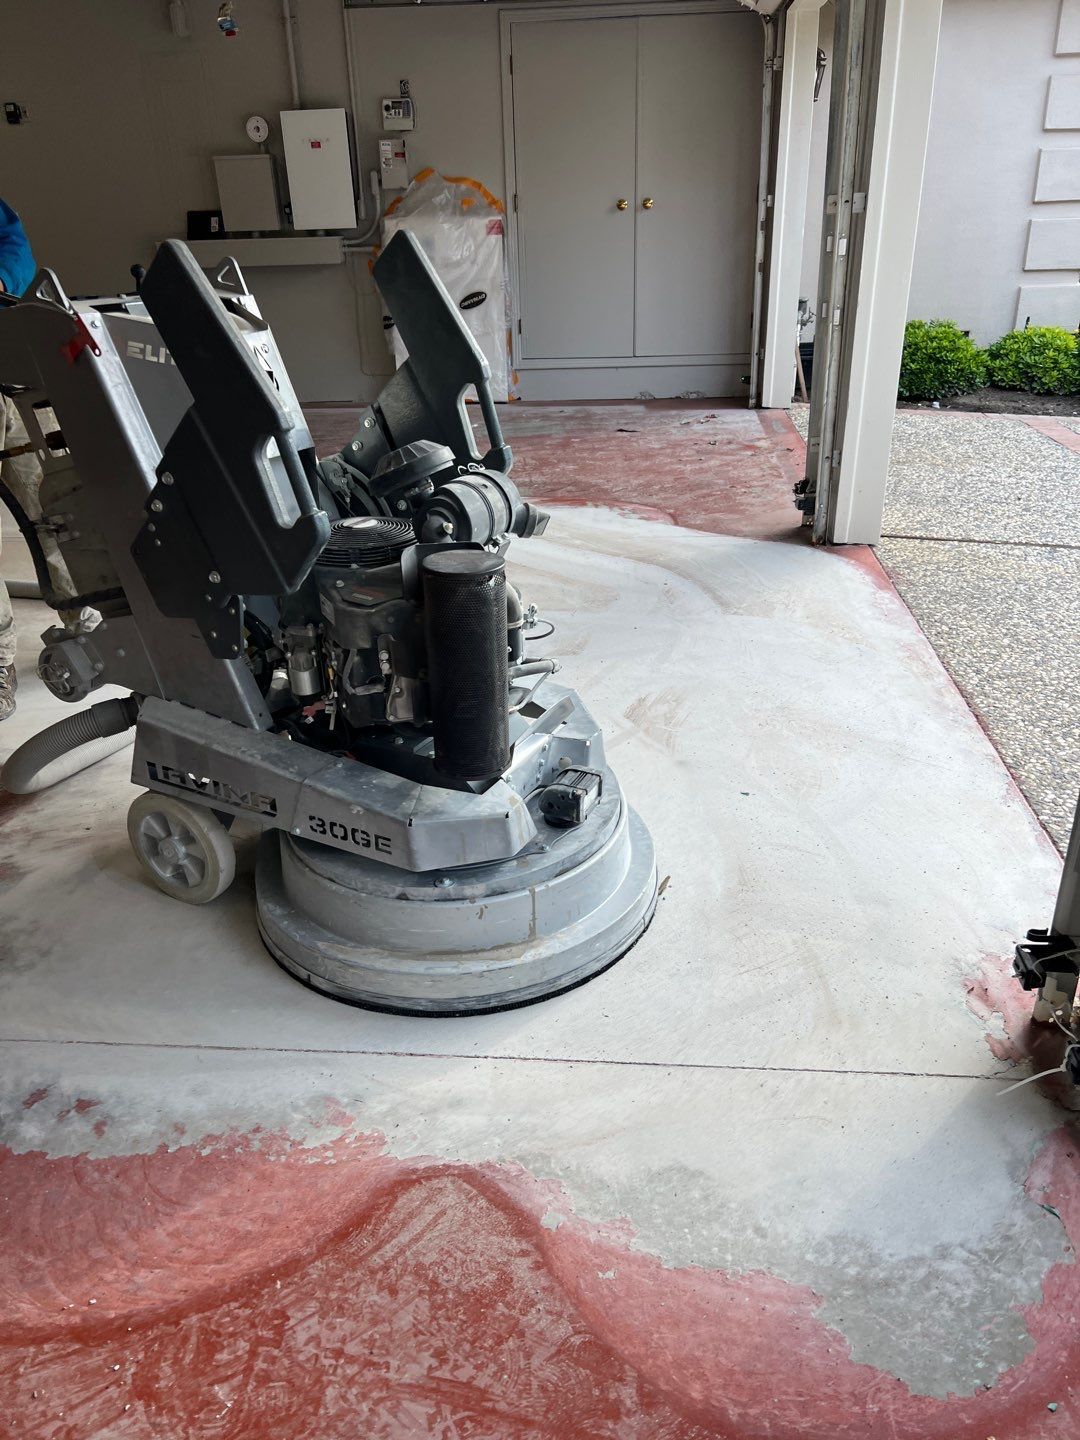
Grinding the surface to achieve a smooth, receptive profile. This also opens the pores within the concrete for better coating adhesion.
-
Base coat is applied.
-
Applying chip broadcast.
-
Rolling out the final topcoat.
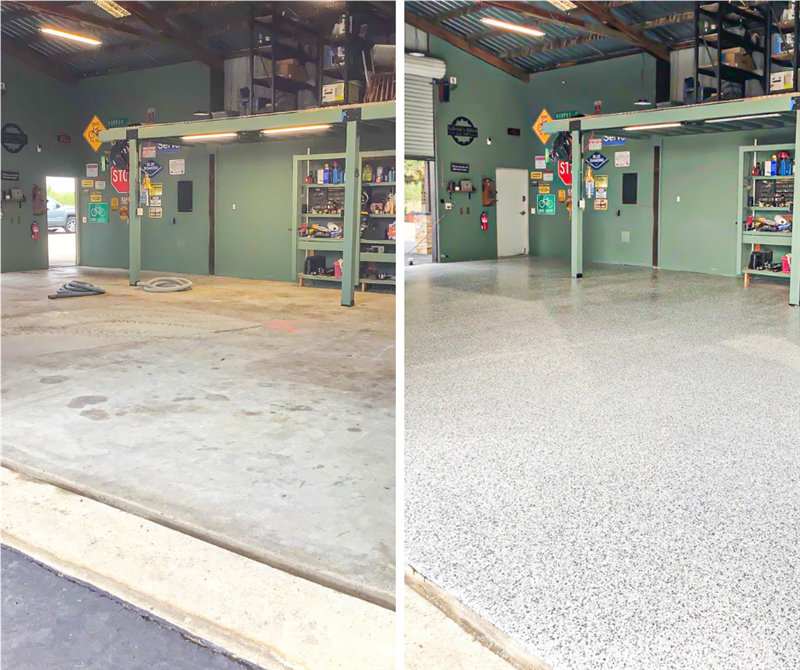
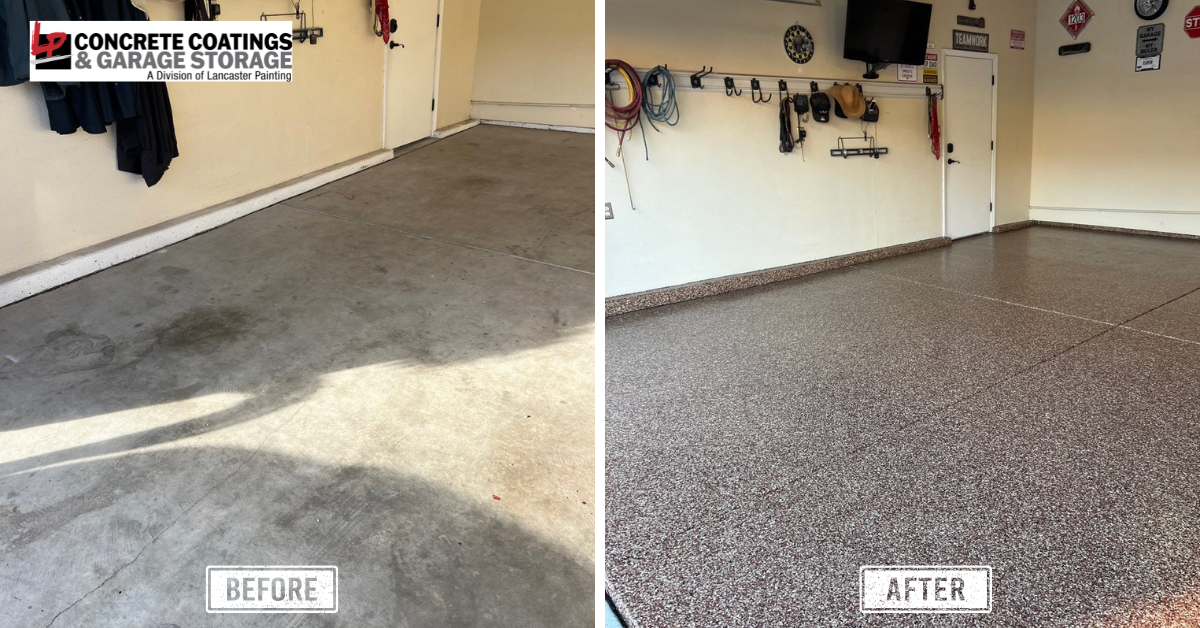
Take a look at our favorite before/after shots to see the difference for yourself!

Is This System Better Than Epoxy?
Yes! In fact, our polyurea system with polyspartic topcoat is 4x stronger than epoxy, and substantially more flexible as well. This means that it will never chip or peel, there’s zero hot-tire pickup, and we can confidently back the system with a 15-year residential warranty.
It’s a better system and solution from every angle.
Have More Concrete Floor Coating Questions?
Give us a call! We love talking concrete. And don’t forget: our 1-DAY floors are perfect for all your needs, indoors or out, from garage flooring to patios and poolside spaces. We’re here to help!
Concrete might be tough, but without proper protection, it can wear down from exposure to weather, chemicals, and traffic. That’s where high-performance concrete coatings come in. At LP Concrete Coatings, we specialize in applications that not only extend the life of your concrete surfaces but also enhance their look.
Enhance and protect your Tracy home with durable and stylish concrete coatings.
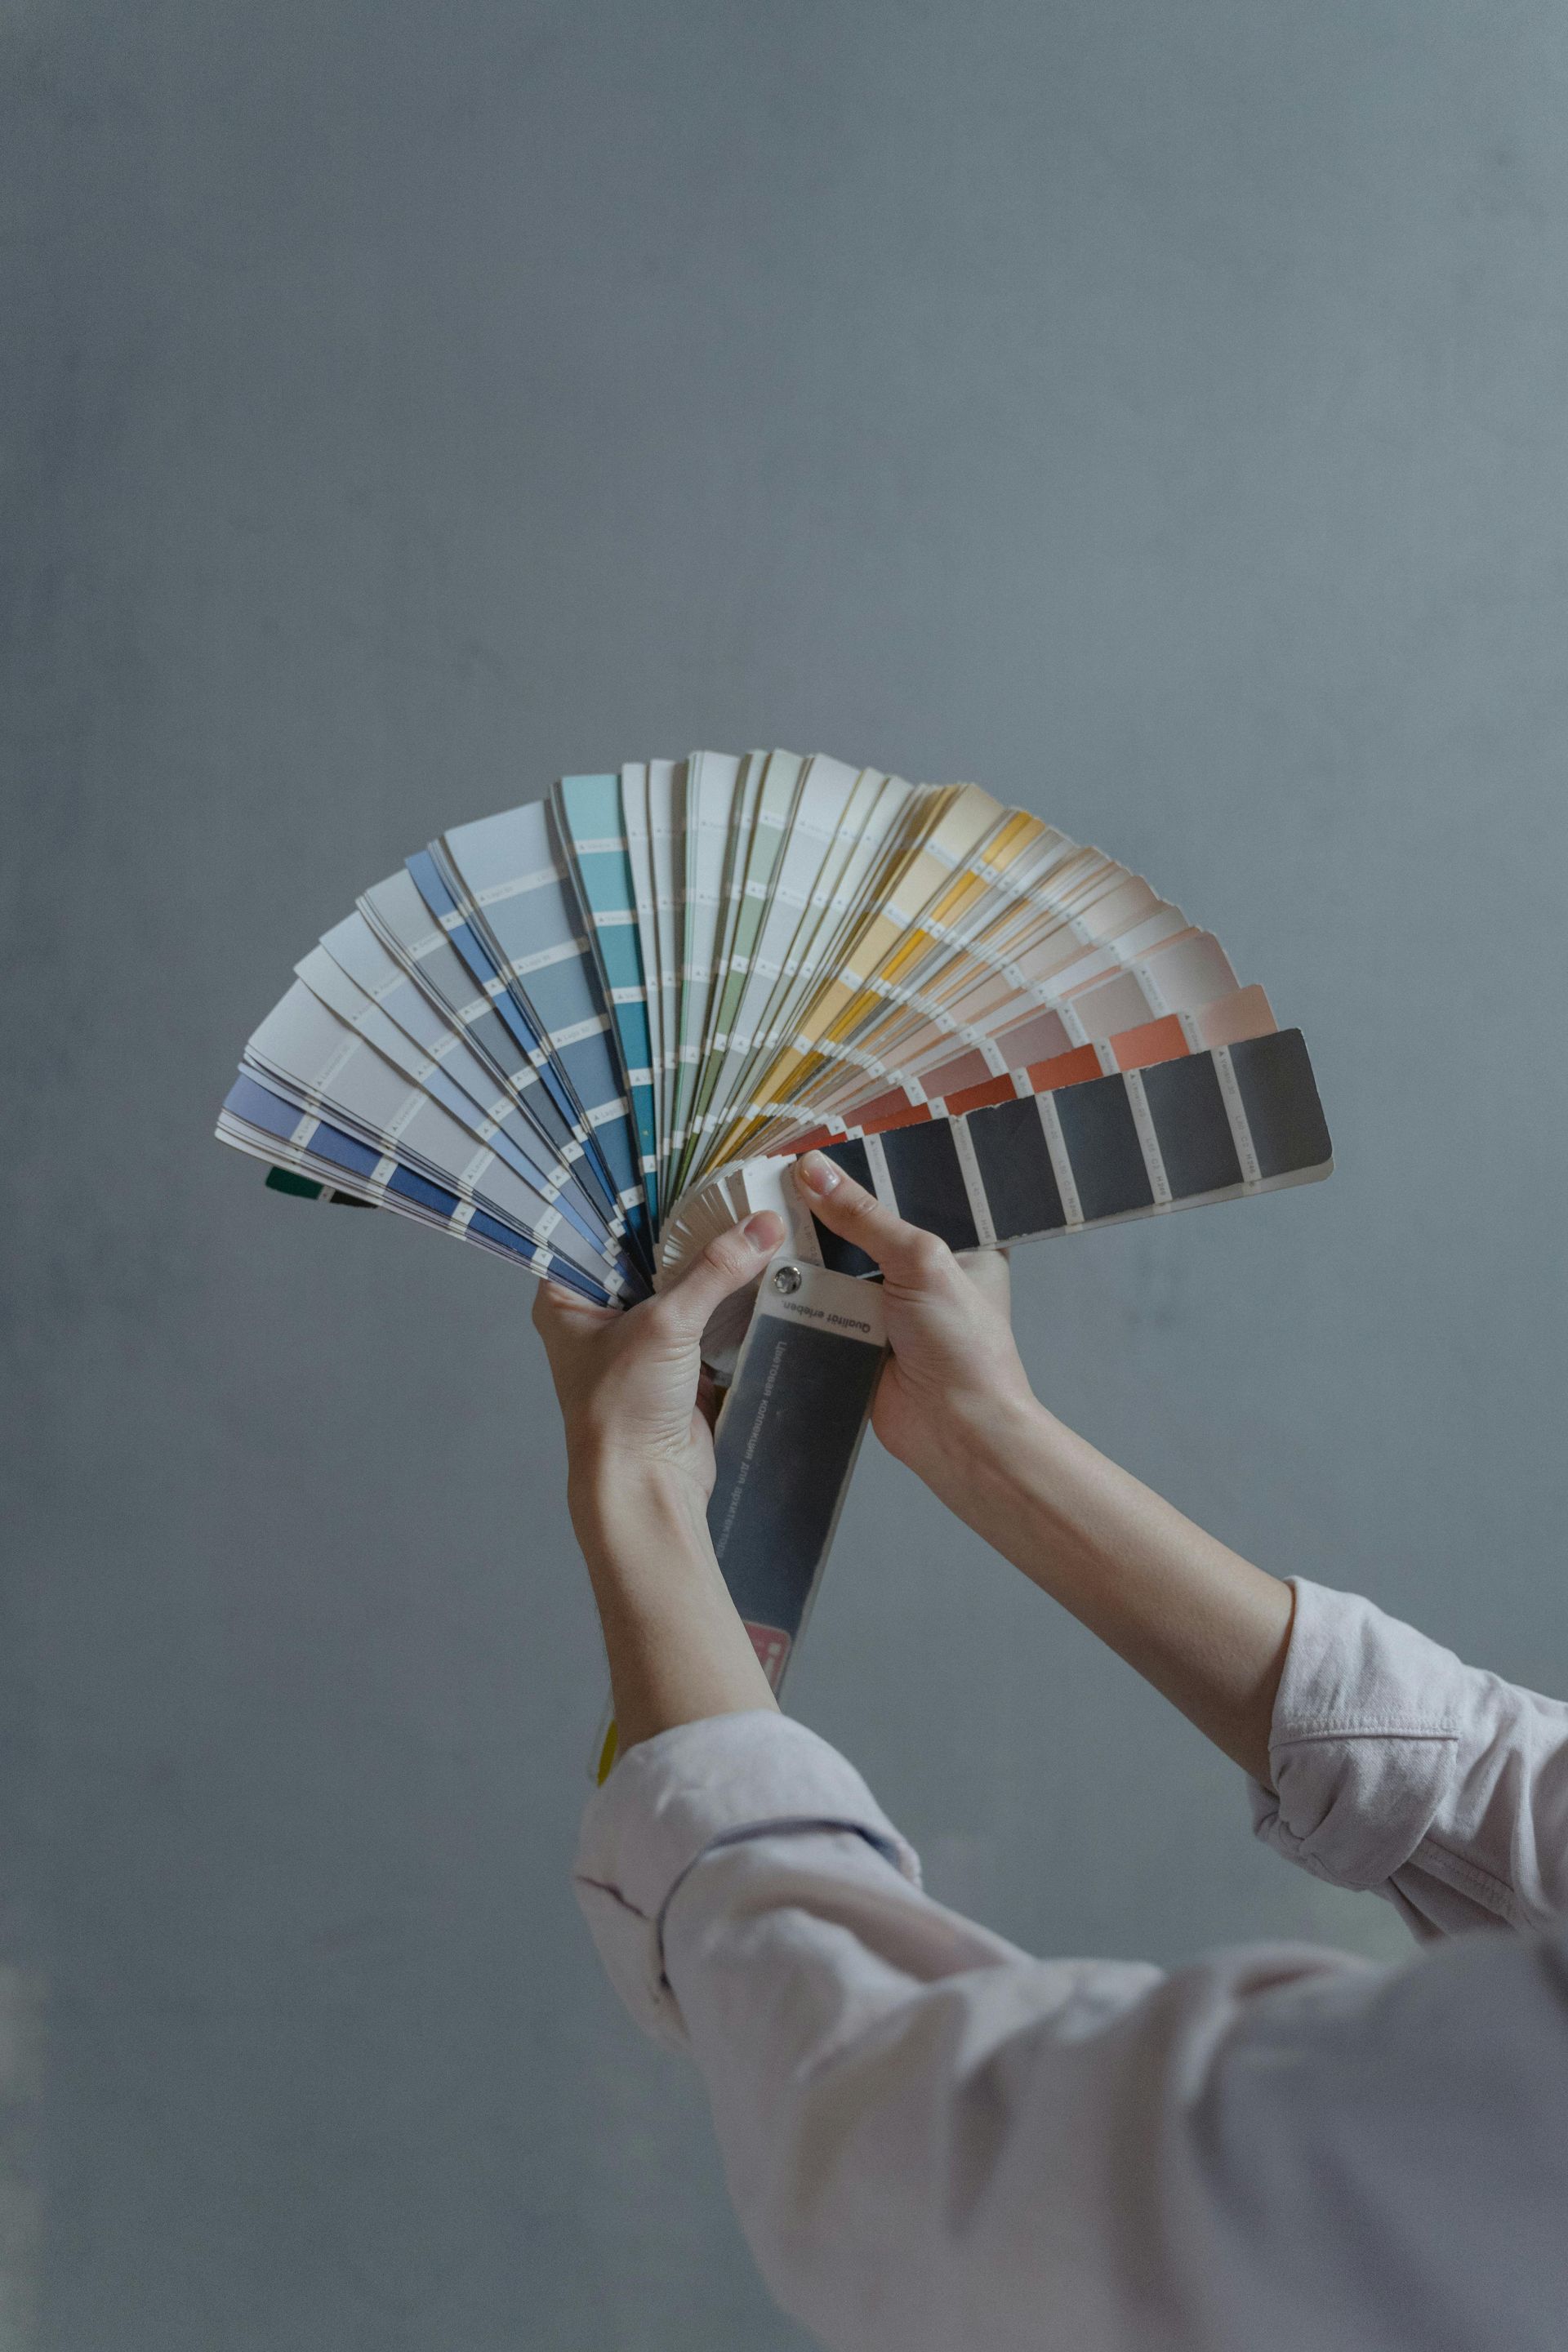
Discover the season's popular colors like deep blues, elegant greys, and vibrant greens for your cabinets.
Painting with Purpose

How to Choose the Perfect Cabinet Paint Color to Transform Your Kitchen
When it comes to upgrading your concrete floors, the allure of DIY projects can be tempting, especially with the myriad of DIY epoxy kits available on the market. However, when quality, durability, and long-term value are priorities, professional application of specialized concrete coatings, like those offered by our team, is the clear choice. Here’s why choosing our professional services is a superior decision over attempting a DIY project.
A Guide to Caring for Painted Cabinets
Revamp Your Space with Our Trusted Services

Whether you’re looking to refresh your interior spaces, give your cabinets a new look, upgrade your garage floor with durable concrete coatings, or organize your space with custom garage storage solutions, we’ve got the perfect gift for you: 25% off on all these services when you book by August 31!
Transforming Your Garage: A Space of Your Own
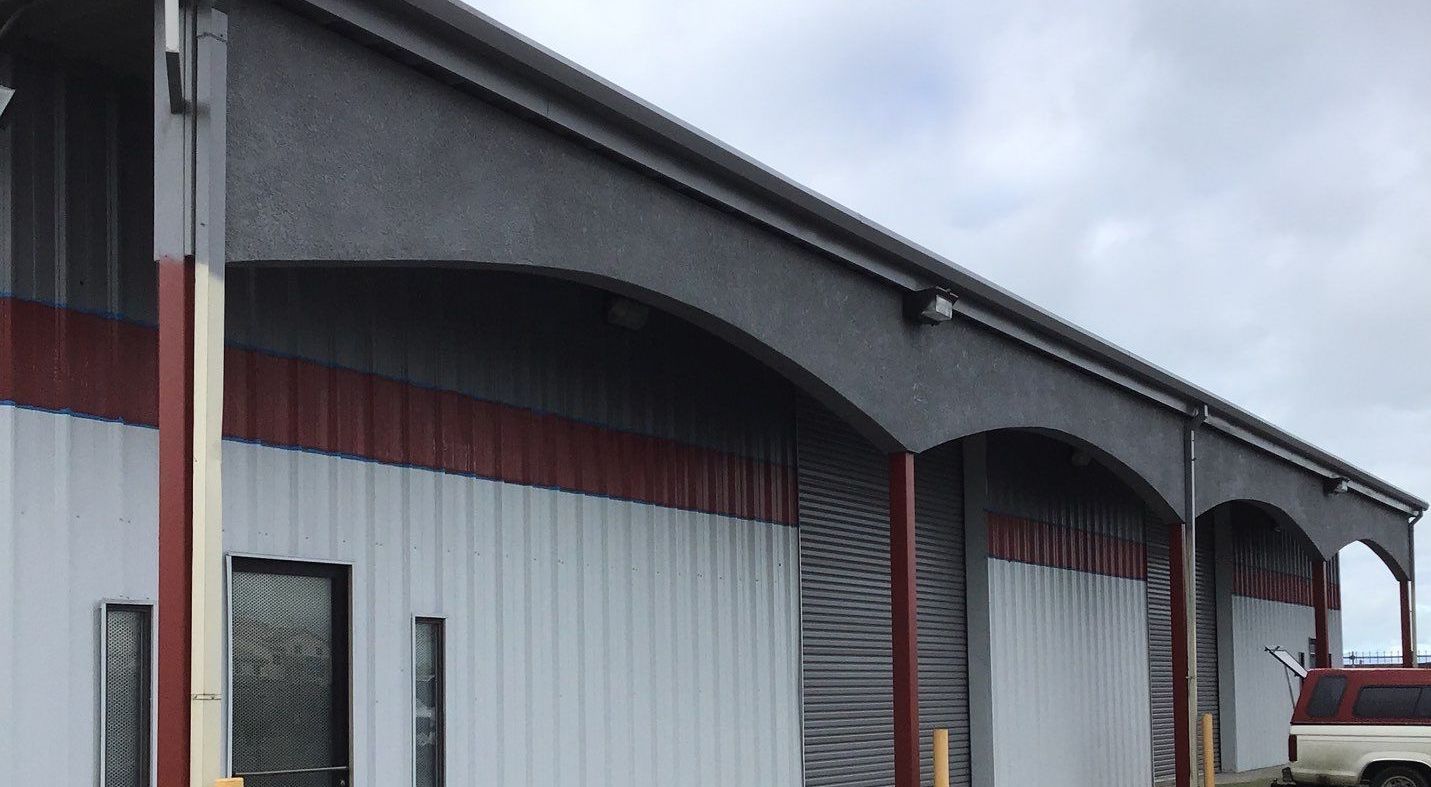
Protect Your Investment: Commercial Painting Expertise from Lancaster Painting
The Smart Investment: Why a Good Pool Deck Coating Saves You Money in the Long Run