Despite what home improvement shows might tell you, interior painting isn’t easy.
To clarify just a bit, we should say that interior painting WELL isn’t easy. Slapping paint on a wall is simple, but knowing surfaces, tools, prep, and having the right technique all come with time, training, and a passion for the trade. There is a massive difference between painting and expert painting.
We’re here to make the process easier for you however we can! And, in this case, we’d like to kick a few rocks out of your path but helping you avoid five common interior painting mistakes. These are easy to make, but also (thankfully!) easy to avoid, too.
Are you ready?
Planning an Interior Painting Project? Keep These Tips in Mind!

- Painting a Second Coat Too Soon - It’s easy to rush the process. After all, that first coat gives you just a taste of what the finished product will look like, and you want to see the end result. We don’t blame you! It’s important to pump the brakes though, allowing each coat to fully dry before applying the next. Otherwise you’ll be headed toward a streaky, muddy finish.
- Peeling Painter’s Tape Too Late - Tape is a wonderful tool for novice painters, allowing you to work with confidence around tricky angles, molding, floors, fixtures, and more. The key is to peel it early, well before the paint dries, otherwise you run the risk of peeling a bit of the surrounding paint as well. This creates unsightly tattered edges that are very tough to touch up.
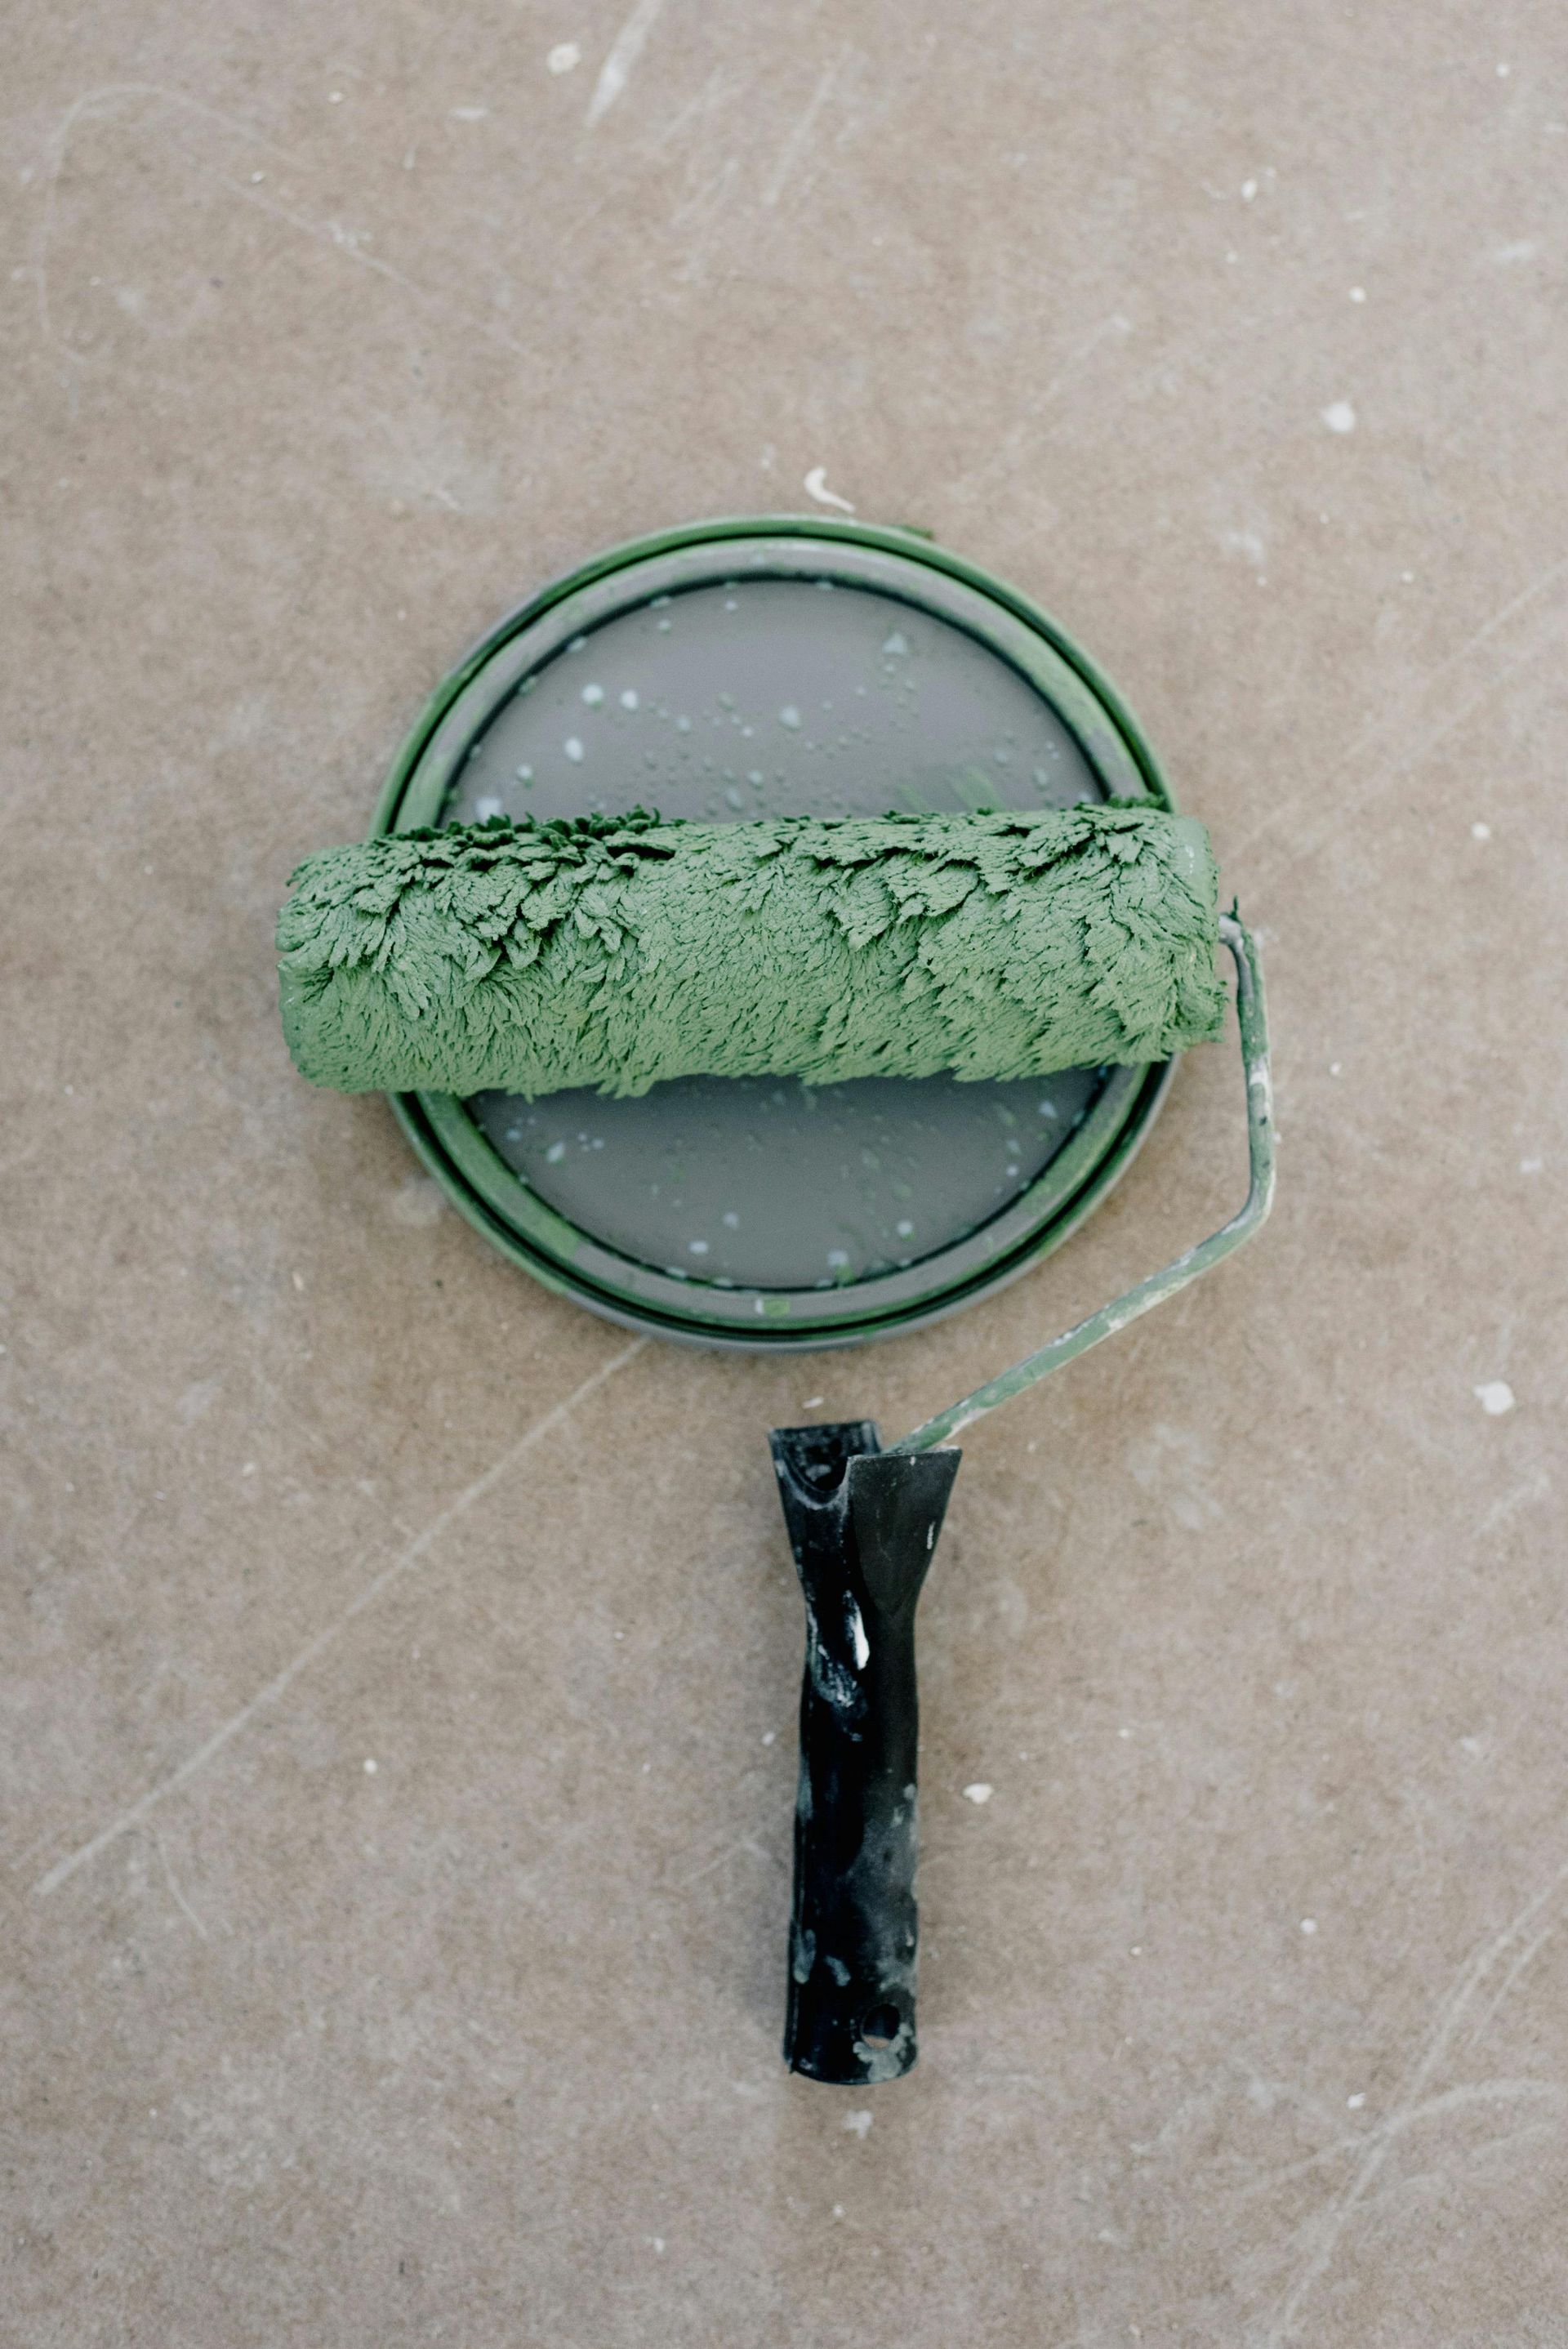
- Putting Too Much Paint on Your Brush - A little less offers a lot more, in this case. Try loading only about 1/3 of your bristles with paint, providing you with more control and precision.
- Skipping Primer - Primer can feel like a boring first step, but it’s really not. Primer paves the way for your topcoat, providing a more effective color change, smooth surface, and superior paint adhesion. And, if you made a repair (like filling a nail hole or two), primer is absolutely essential. Skip this preliminary step and you’ll see the blemish through the paint no matter how carefully you patched and sanded.
- Painting Damp Walls - Especially in bathrooms where there is a high moisture/steam concentration, walls take time to fully dry. Make sure you open windows, run a fan, or do whatever else you need to in order to ensure a dry surface.
BONUS TIP:
Speaking of painting bathrooms, be sure you allow 1-2 days for the paint to fully cure before you start using the space (especially showering). The paint needs to be rock hard before you introduce steam, moisture, and high levels of traffic.
Talk to Your Local Painting Company About Your Goals
For all the reasons we mentioned at the beginning of this article, we can’t overstate how helpful it is to work with a professional, experienced painting company. It’s the best way to guarantee a beautiful, quality finished product!
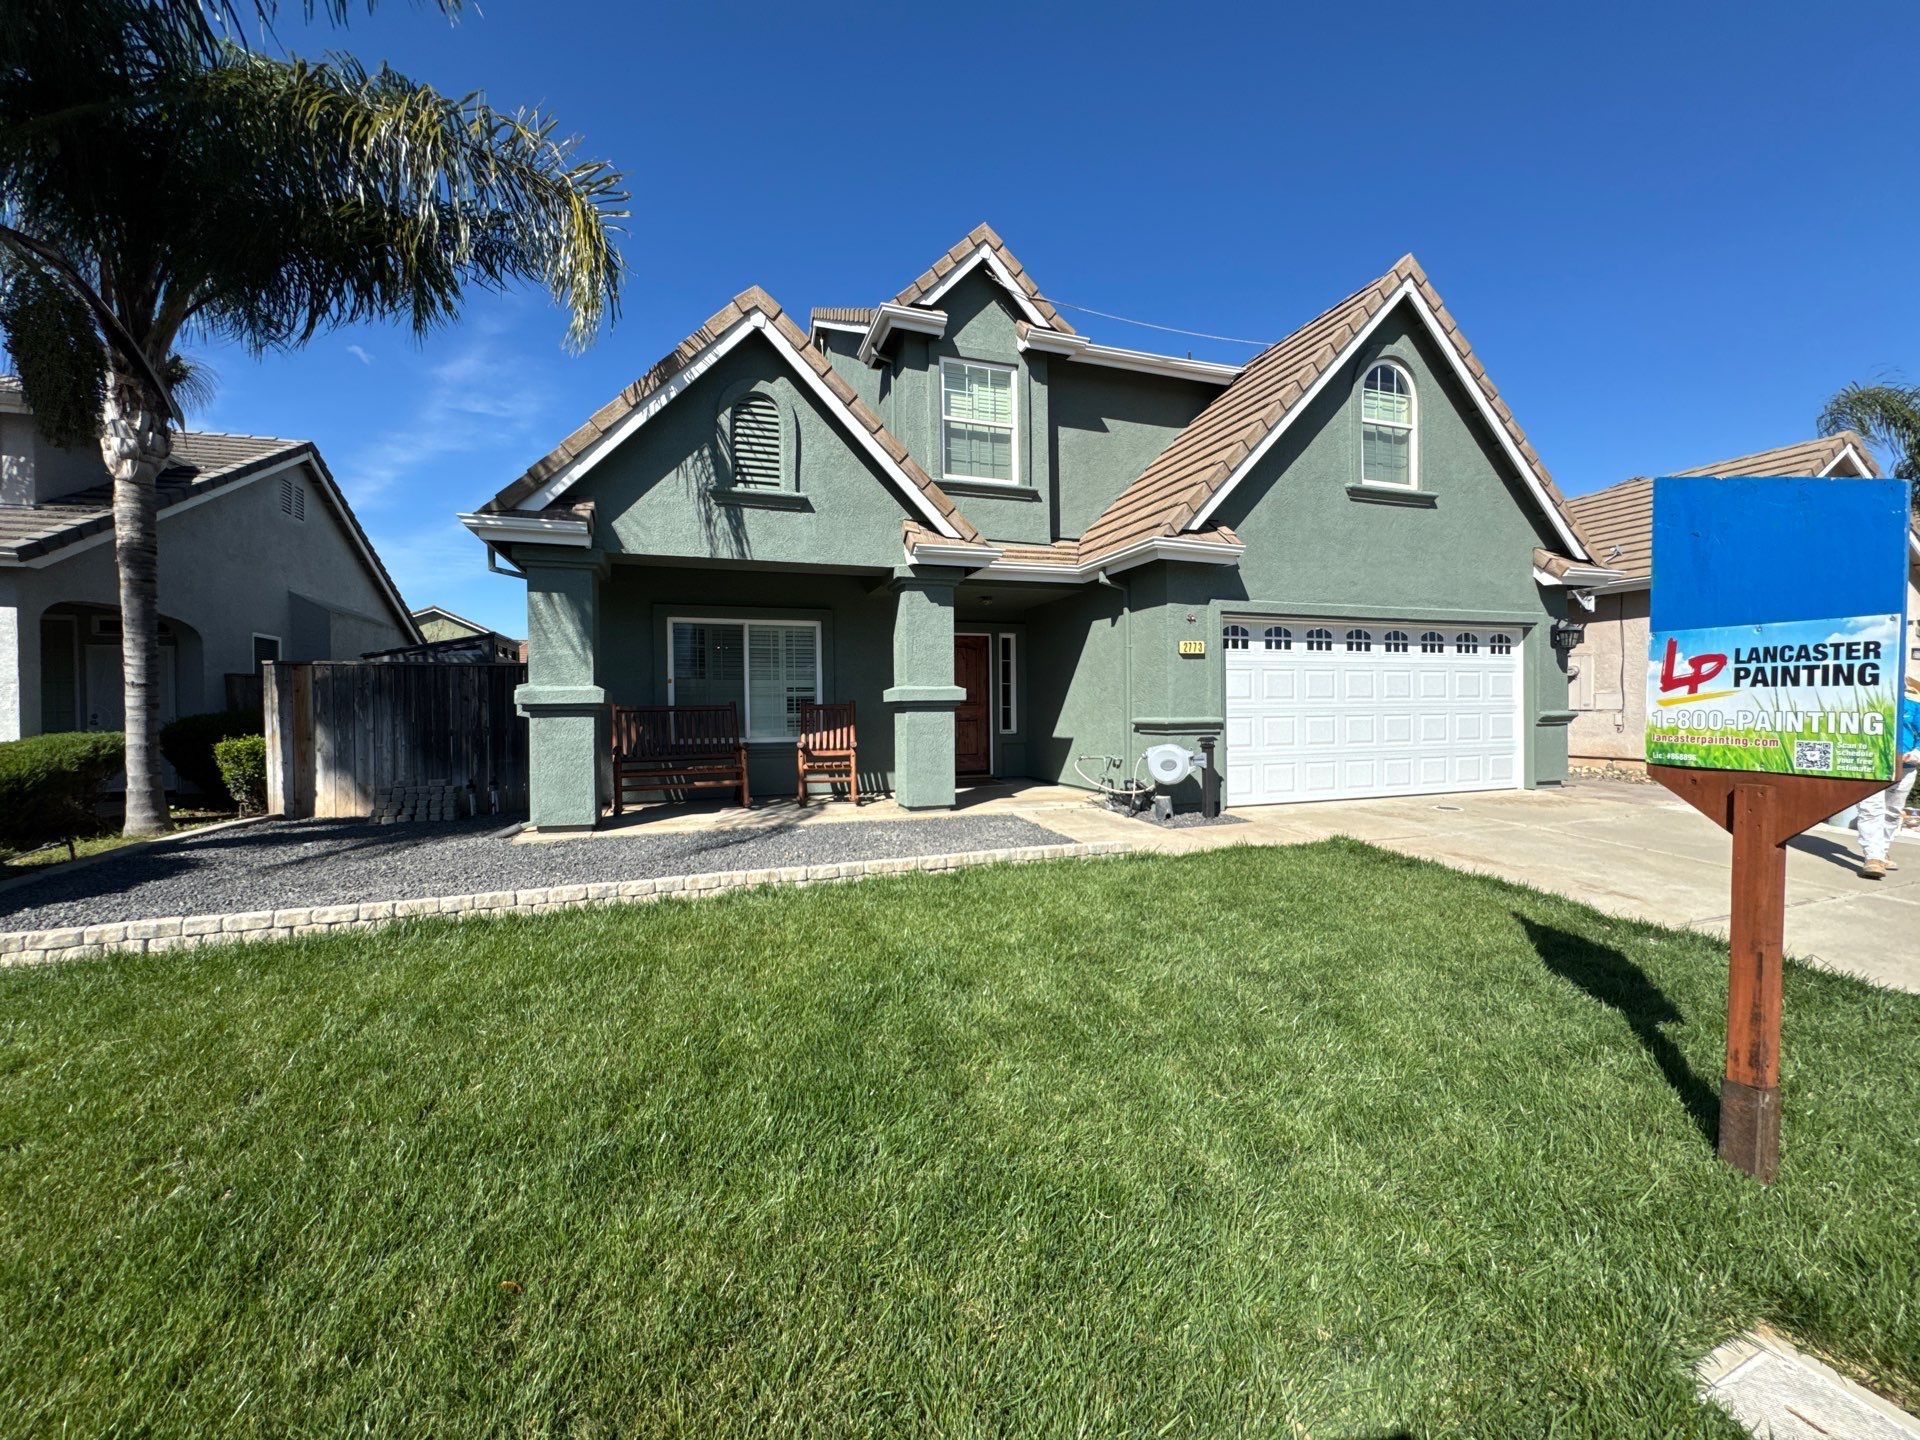
If you live here in the Central Valley, please give us a call at Lancaster Painting. It would be our pleasure to discuss your specific goals and ideas.